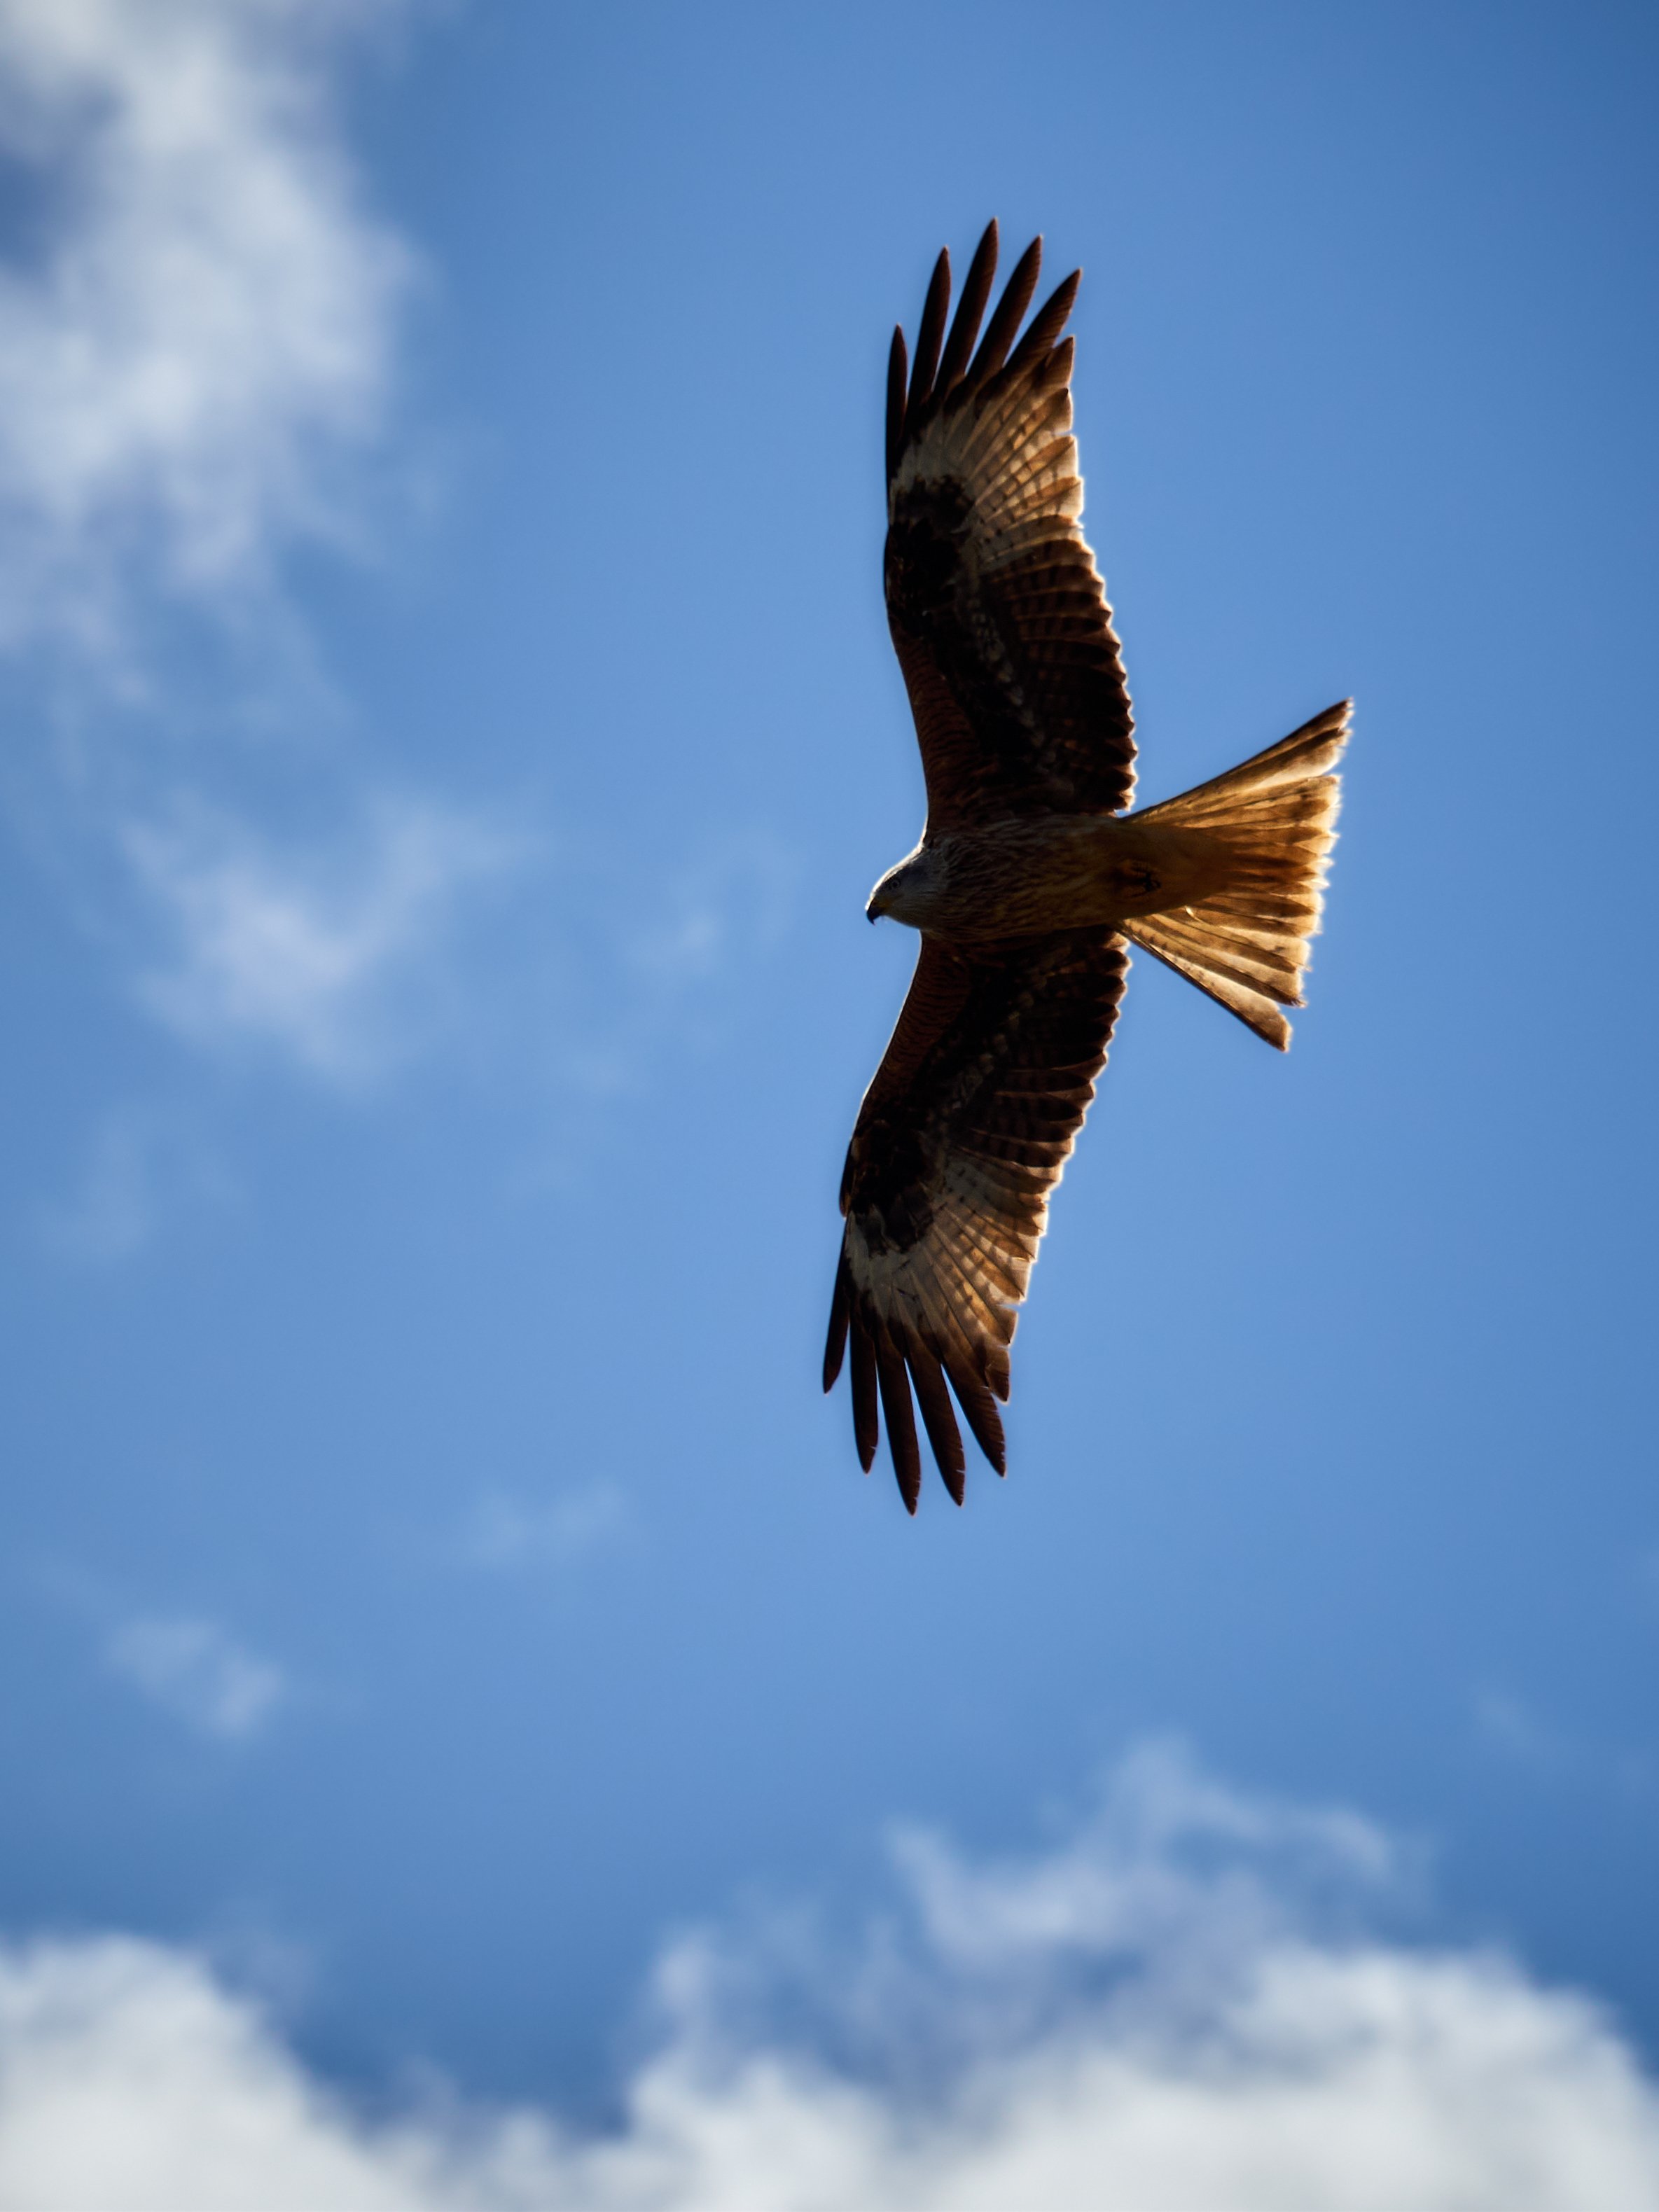
somethingp,

Like others have said I would either try to lift the shadows or go for a high key style photo and make the bird more of a silhouette

FellowEnt,

Nice shot! There’s definitely some detail in the shadows that could be be pulled up a bit more without it looking artificial. Was this shot in RAW or JPG?

JamieCristofani,
@JamieCristofani@lemmy.world avatar

It was shot in RAW, but I am incredibly new to editing in software not on my phone. Another comment mentioned curves and levels which seems to be the route to go, but it is very daunting going that route for the first time. I intend to do a little research and have a go at lifting the shadows just enough to ideally see more of the face (as they are the lighter feathers anyway).

FellowEnt,

I’d be happy to reprocess the RAW and walk you through the work flow if you’re interested.

JamieCristofani,
@JamieCristofani@lemmy.world avatar

I really appreciate the offer, but at the moment I am focusing on feedback and advice, rather than demonstration. Being at such an early stage I would like to see my own editting progression (as advised elsewhere, I plan on putting this image to the side until I am more confident with subtle editing on such an image).

FellowEnt,

OK fair enough, in terms of advice I would suggest getting really familiar with whatever RAW software you’re using as you should be able to get an image like this perfect without needing to take it into photoshop.

JamieCristofani,
@JamieCristofani@lemmy.world avatar

Thank you, I think using the software is going to be the most beneficial thing I focus on for quite some time.

Maultasche,

This is probably the first kite I’ve seen without a v-shaped tail

JamieCristofani,
@JamieCristofani@lemmy.world avatar

We have a lot where I live, I am by no means an expert but it may because it was making a hard turn.

Maultasche,

That’s interesting. Maybe it’s a regional difference.

JamieCristofani, (edited )
@JamieCristofani@lemmy.world avatar

Oh, a lot here definitely have the forked tails here. But typically when they are less ‘fanned-out’ as in this picture.

Edit: I just looked at some of the other pictures and most do have the wide fanned tail, maybe because they were flying slowly, scanning the ground for something (there must have been something interesting nearby as there were a few around).

Zachariah,
@Zachariah@lemmy.world avatar

Learn about levels or curves (slightly different tools) if you want to brighten the underside of the bird without it looking unnatural.

JamieCristofani,
@JamieCristofani@lemmy.world avatar

Thank you, I did look at them briefly, but everything went very weird, very quickly, more research is definitely required. Do you recommend any key resources?

NeoNachtwaechter,

I did look at them briefly, but everything went very weird, very quickly

It was to be expected.

The pic is quite nice as it is. The strong backlight is one thing that makes it special. Be proud of it.

At the same time, it is a very difficult example for these editing tools if you are just starting to learn them. It gives only a narrow space between “seeing no effect at all” and “overdoing terribly”.

I recommend to relax and put this photo away for at least some months. Go through several youtube tutorials and start your practicing with some easier examples = normal photos.

JamieCristofani,
@JamieCristofani@lemmy.world avatar

Thank you. This is probably the advice I needed to hear. I know I will need to come back to photos again as my skills improve, but because this photo was so incredibly lucky I wanted to really lean into it.

KevinFRK,

And good tutorials you’d care to recommend that explain what they are trying to achieve? I just have a self taught process with Canon’s DPP4 on RAW format, only working on brightness, as follows:

https://lemmy.world/pictrs/image/90403aa9-356a-4843-8d5f-ca1af5ec7378.png

  1. Turn on any over/under-exposed markers
  2. Move the left slider to the right until it reaches non-zero parts of histogram and/or get under-exposed markers, move back a "bit"
  3. Move the right slider to the left, unless reaches non-zero parts, or get over exposed markers - but go further if its only sky, and you don’t care about it
  4. The tricky bit, move the centre slider to the right if the picture seems “washed out” and to the left if there’s too much dark in the part of the picture you care about - this is extremely subjective

Doing this, you make greatest use of the range of tones (shades, whatever) that the end JPG can offer, and get the detailed tone changes in the zone that matters… maybe.

Using the general brightness slider achieves similar but distinct effects - you might mix and match

This sort of activity should work in any tool. You might be able to do it for selected areas or colour, but I don’t/can’t. You might be able to tweak the curve more precisely, but likewise I don’t try.

NeoNachtwaechter,

And good tutorials you’d care to recommend

Not exactly. I have worked through several different “darktable for beginners” tutorials from different authors in German language. Then I started practicing. Some time in the future I want to do some more advanced tutorials.

KevinFRK,

Those are the tools to play with (might also be called Gamma Adjustment), but I think in this particular case, because of those lovely areas where the sun is shining through, having the rest of the body dark (and the sky bright) works really rather well.

  • All
  • Subscribed
  • Moderated
  • Favorites
  • photography@lemmy.world
  • khanakhh
  • DreamBathrooms
  • cubers
  • cisconetworking
  • osvaldo12
  • magazineikmin
  • Youngstown
  • thenastyranch
  • rosin
  • slotface
  • Durango
  • mdbf
  • kavyap
  • tacticalgear
  • JUstTest
  • InstantRegret
  • normalnudes
  • modclub
  • ngwrru68w68
  • everett
  • GTA5RPClips
  • ethstaker
  • anitta
  • Leos
  • tester
  • provamag3
  • megavids
  • lostlight
  • All magazines