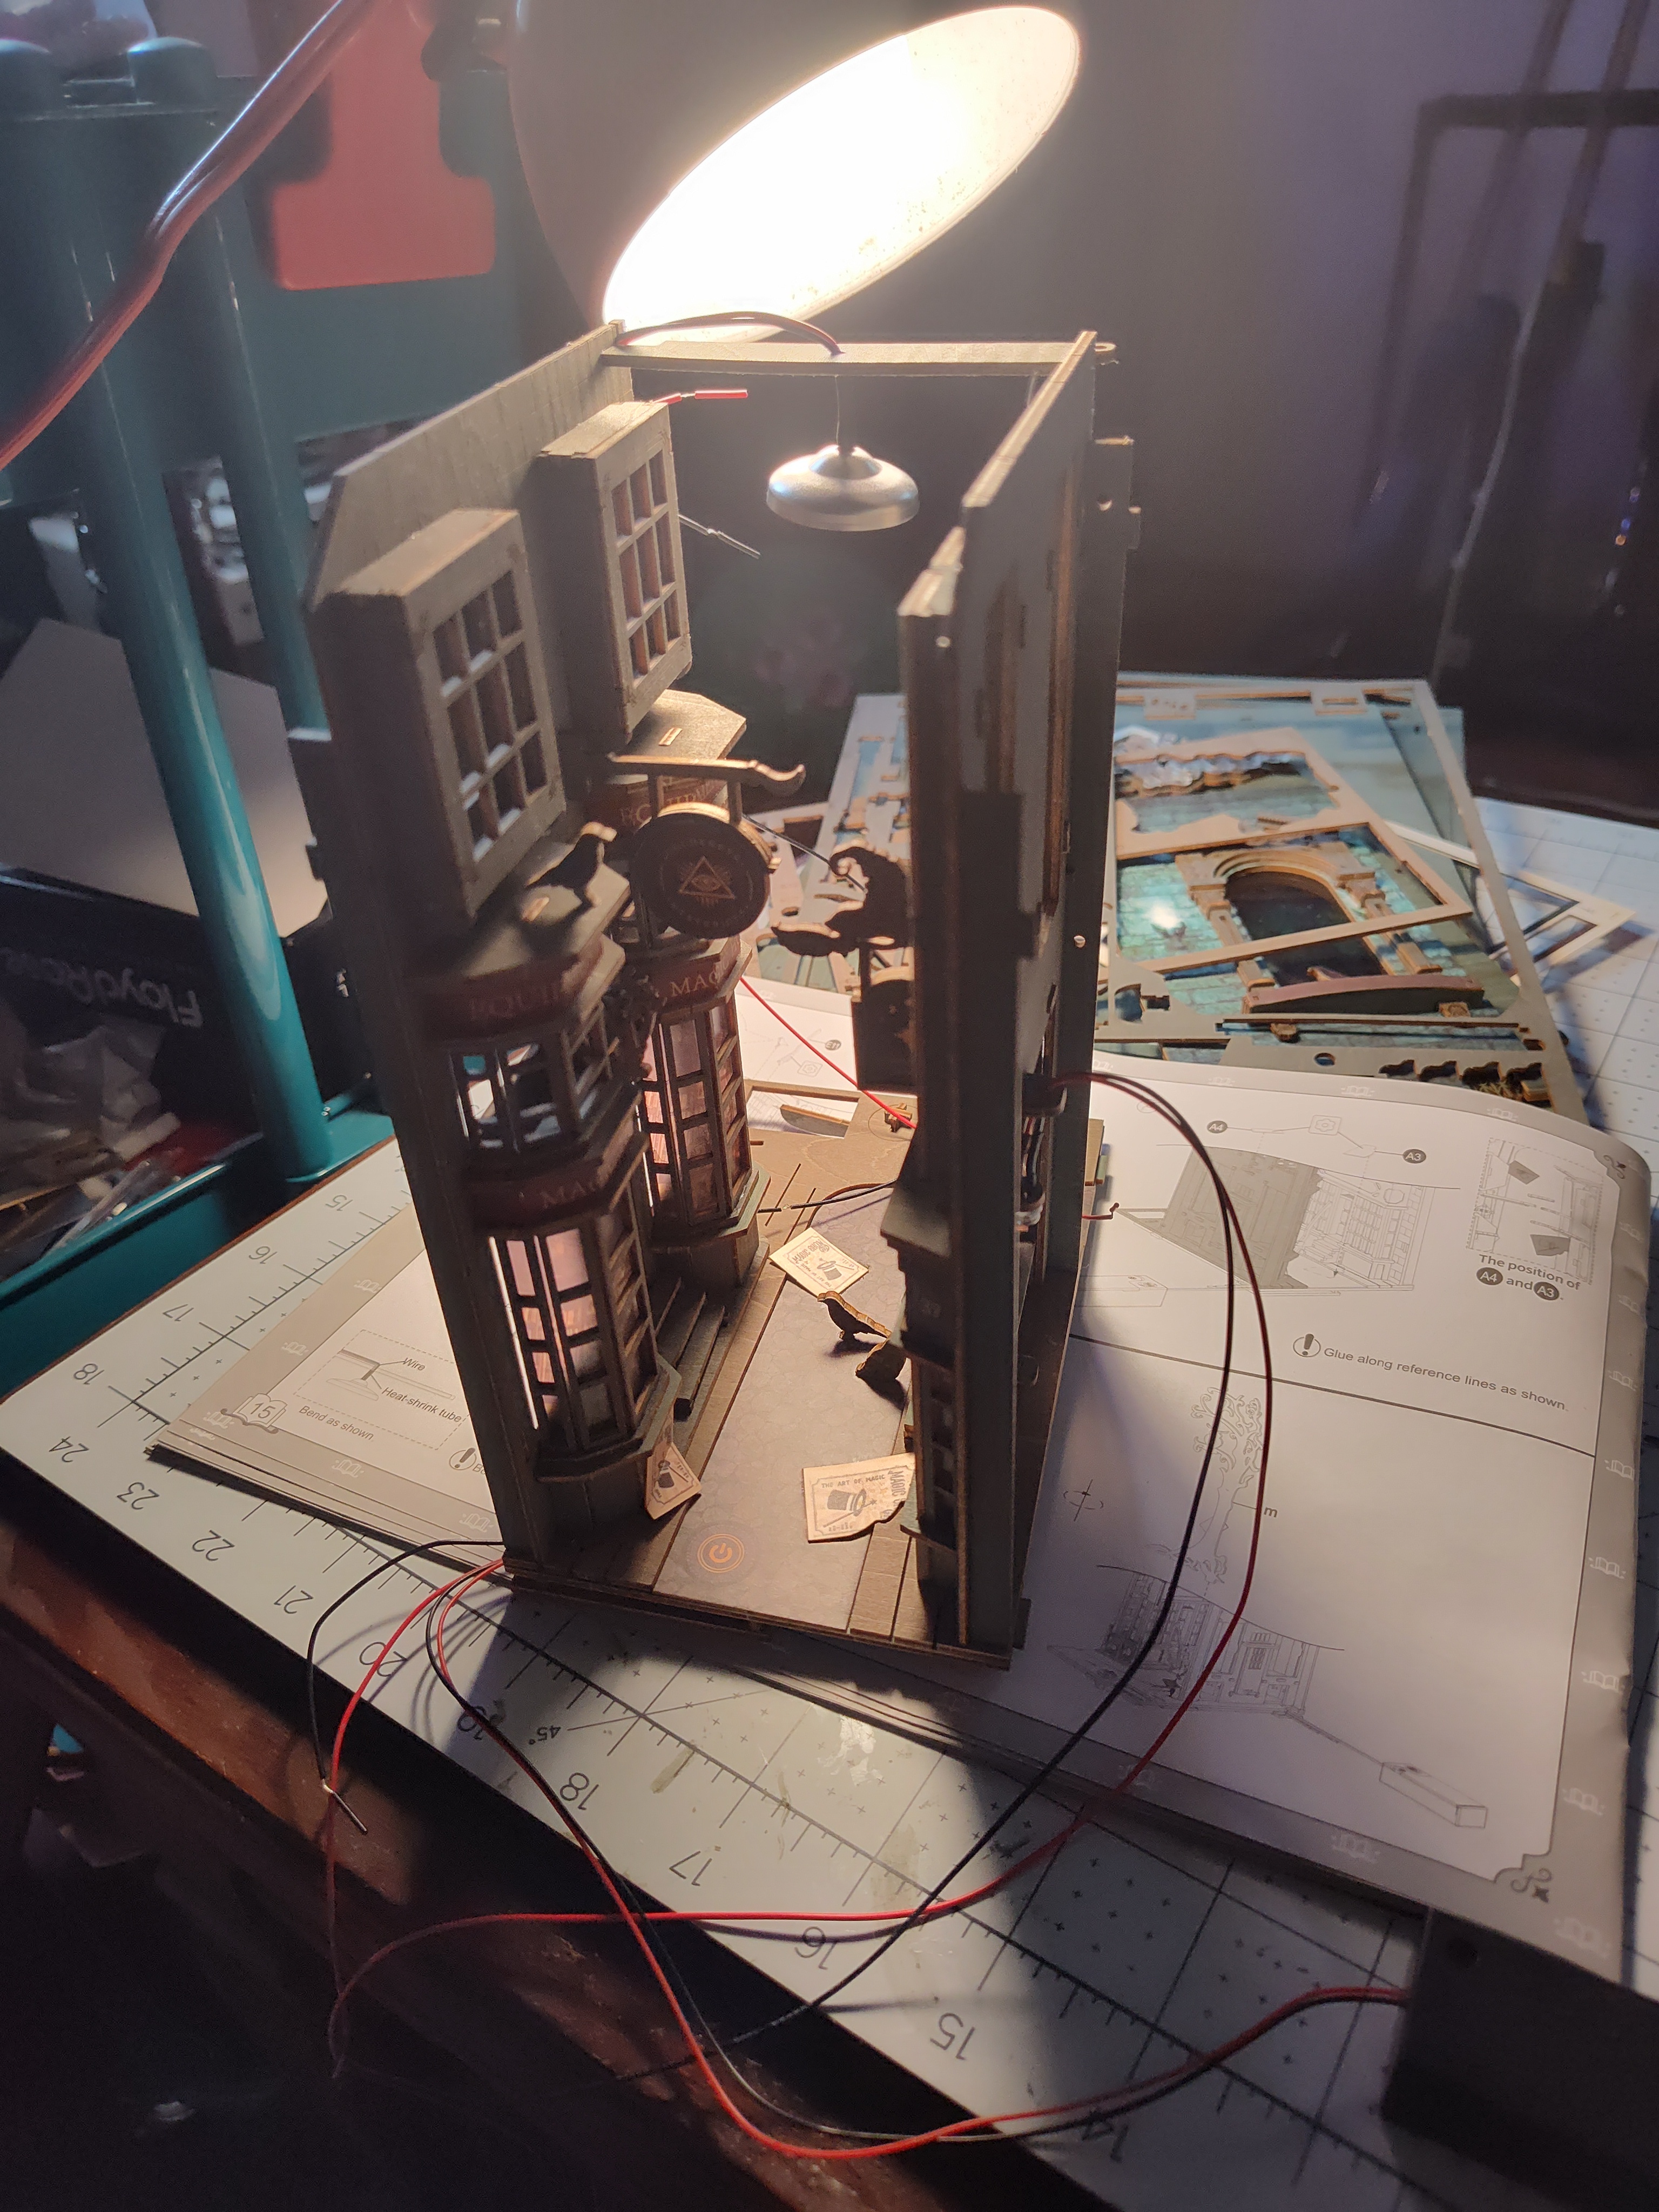
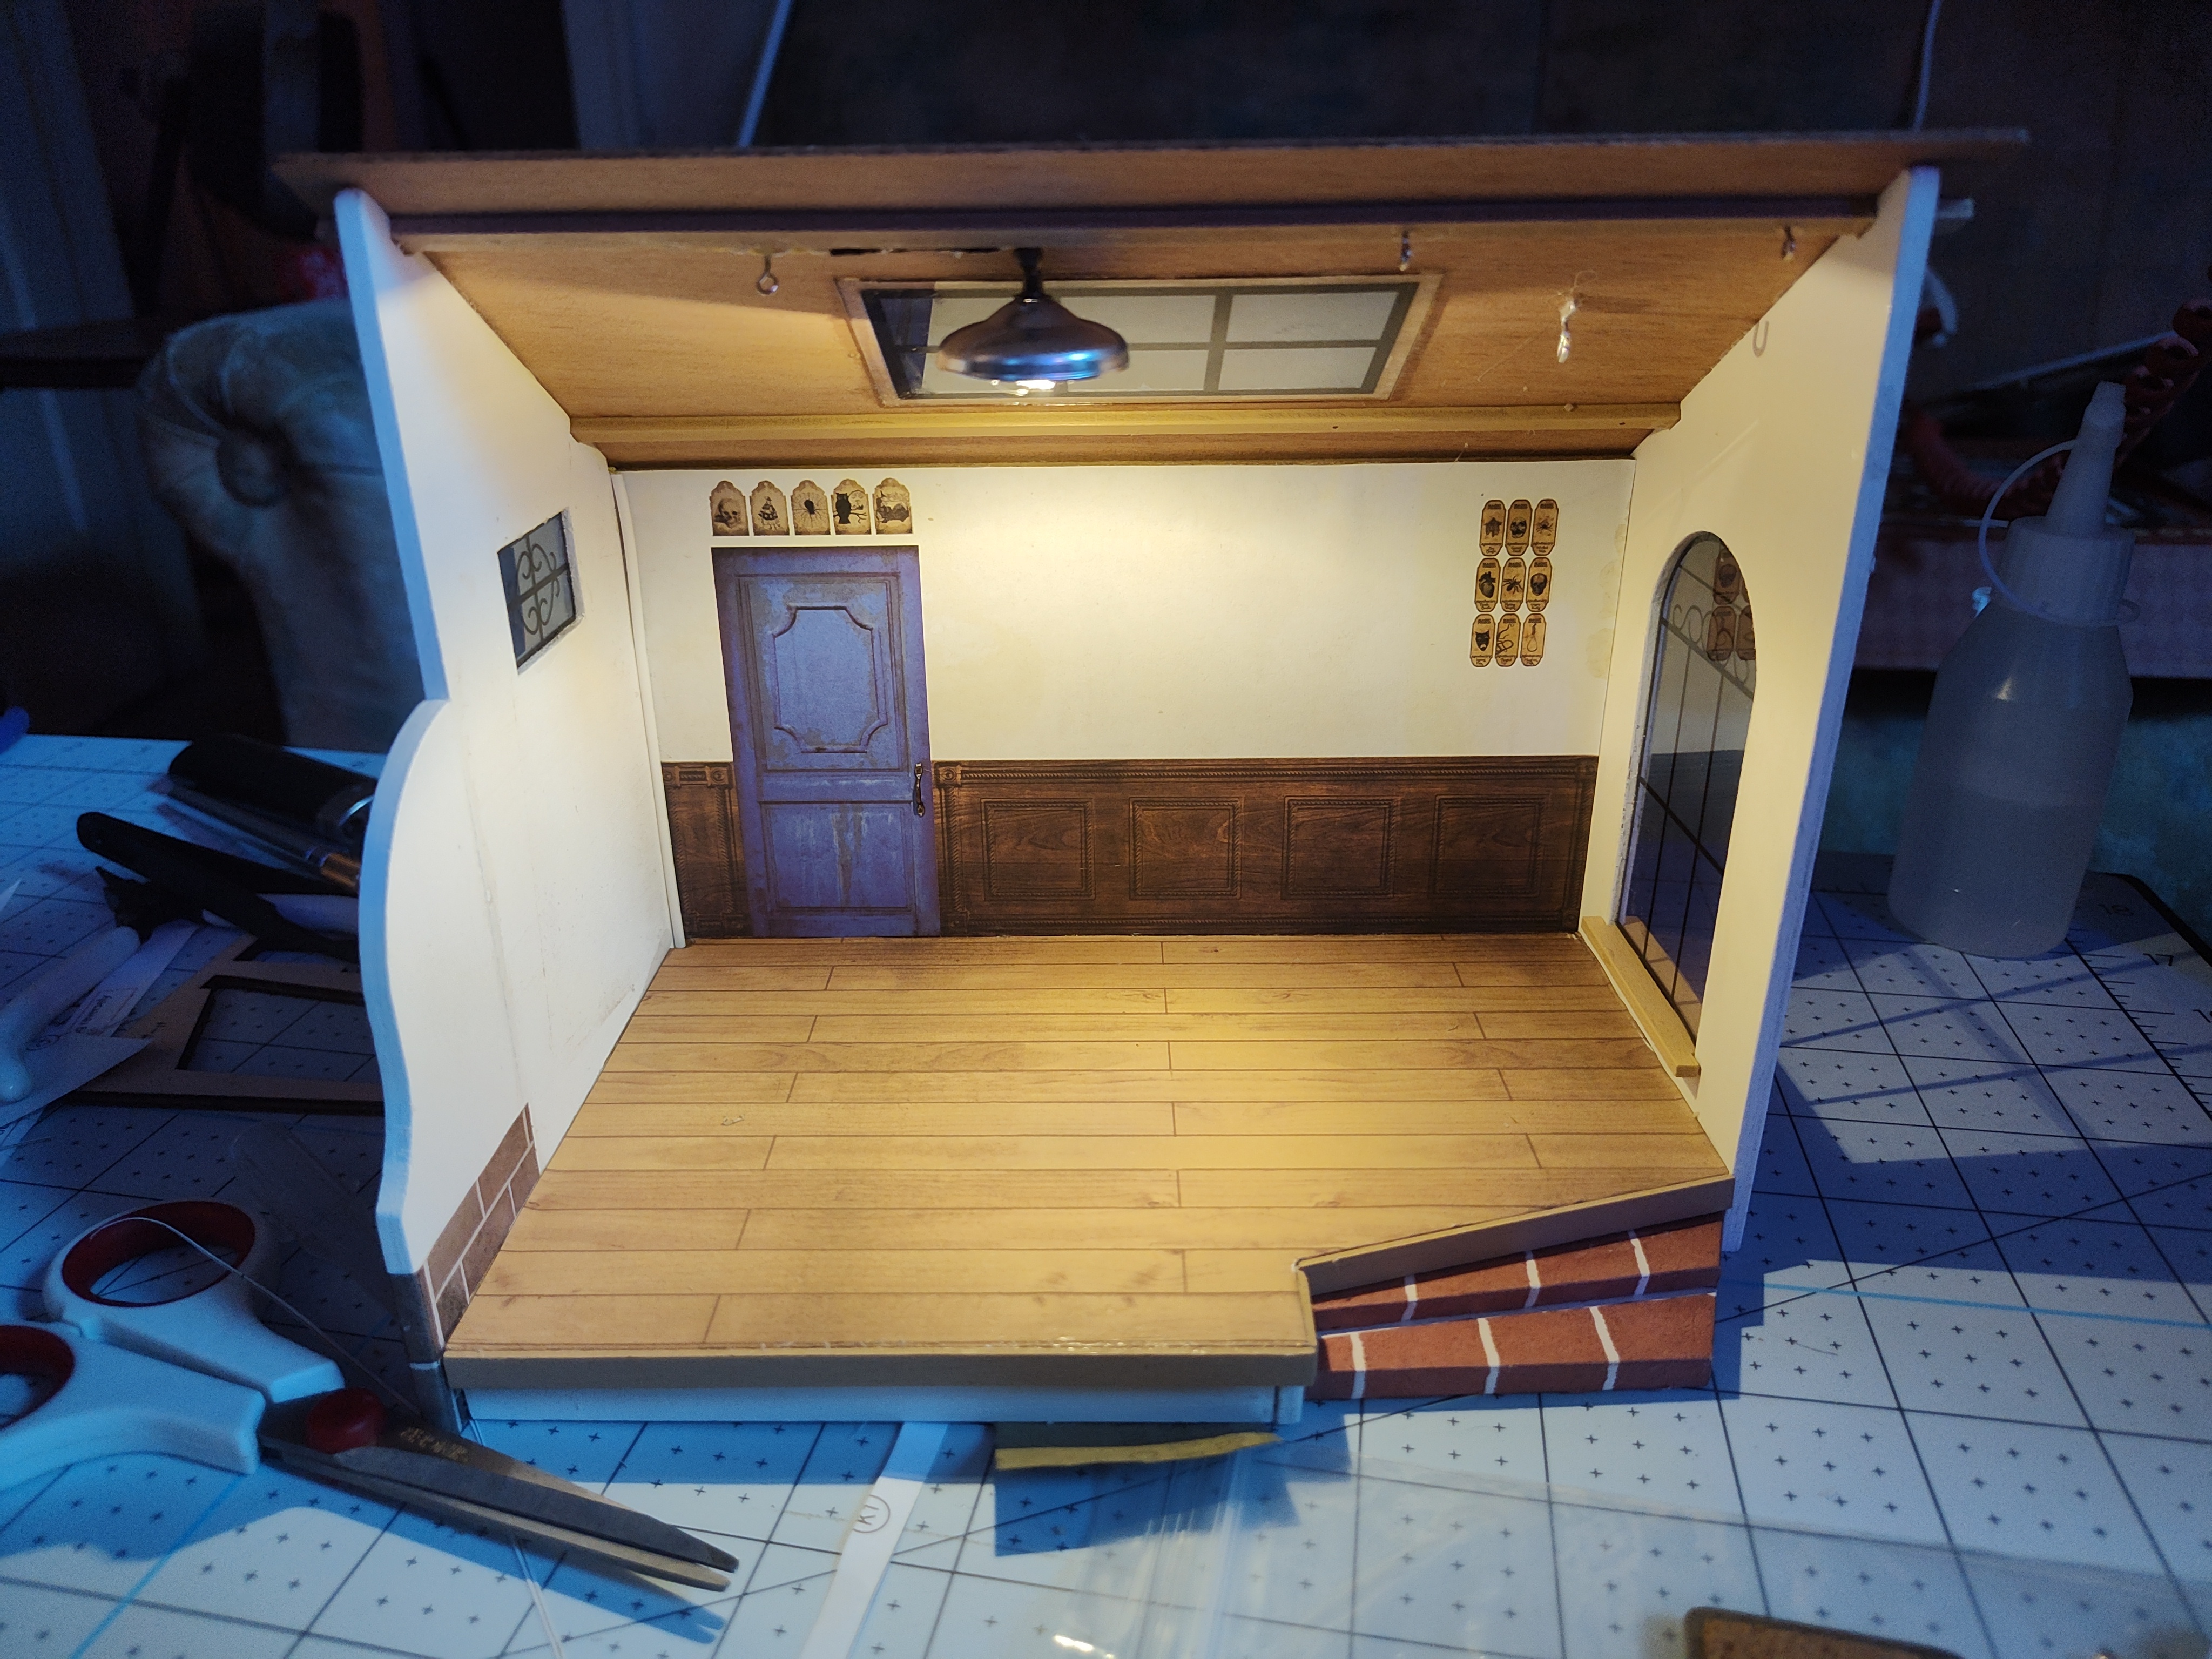
This one went pretty fast! These book nook models really kind of fall in between model making and something like a 3d puzzle, so I ended up finishing it after just a few days, but it was still really fun! There are 4 different LED lights I had to rig up here and they all connect to a touch sensor on the base so you don’t have...
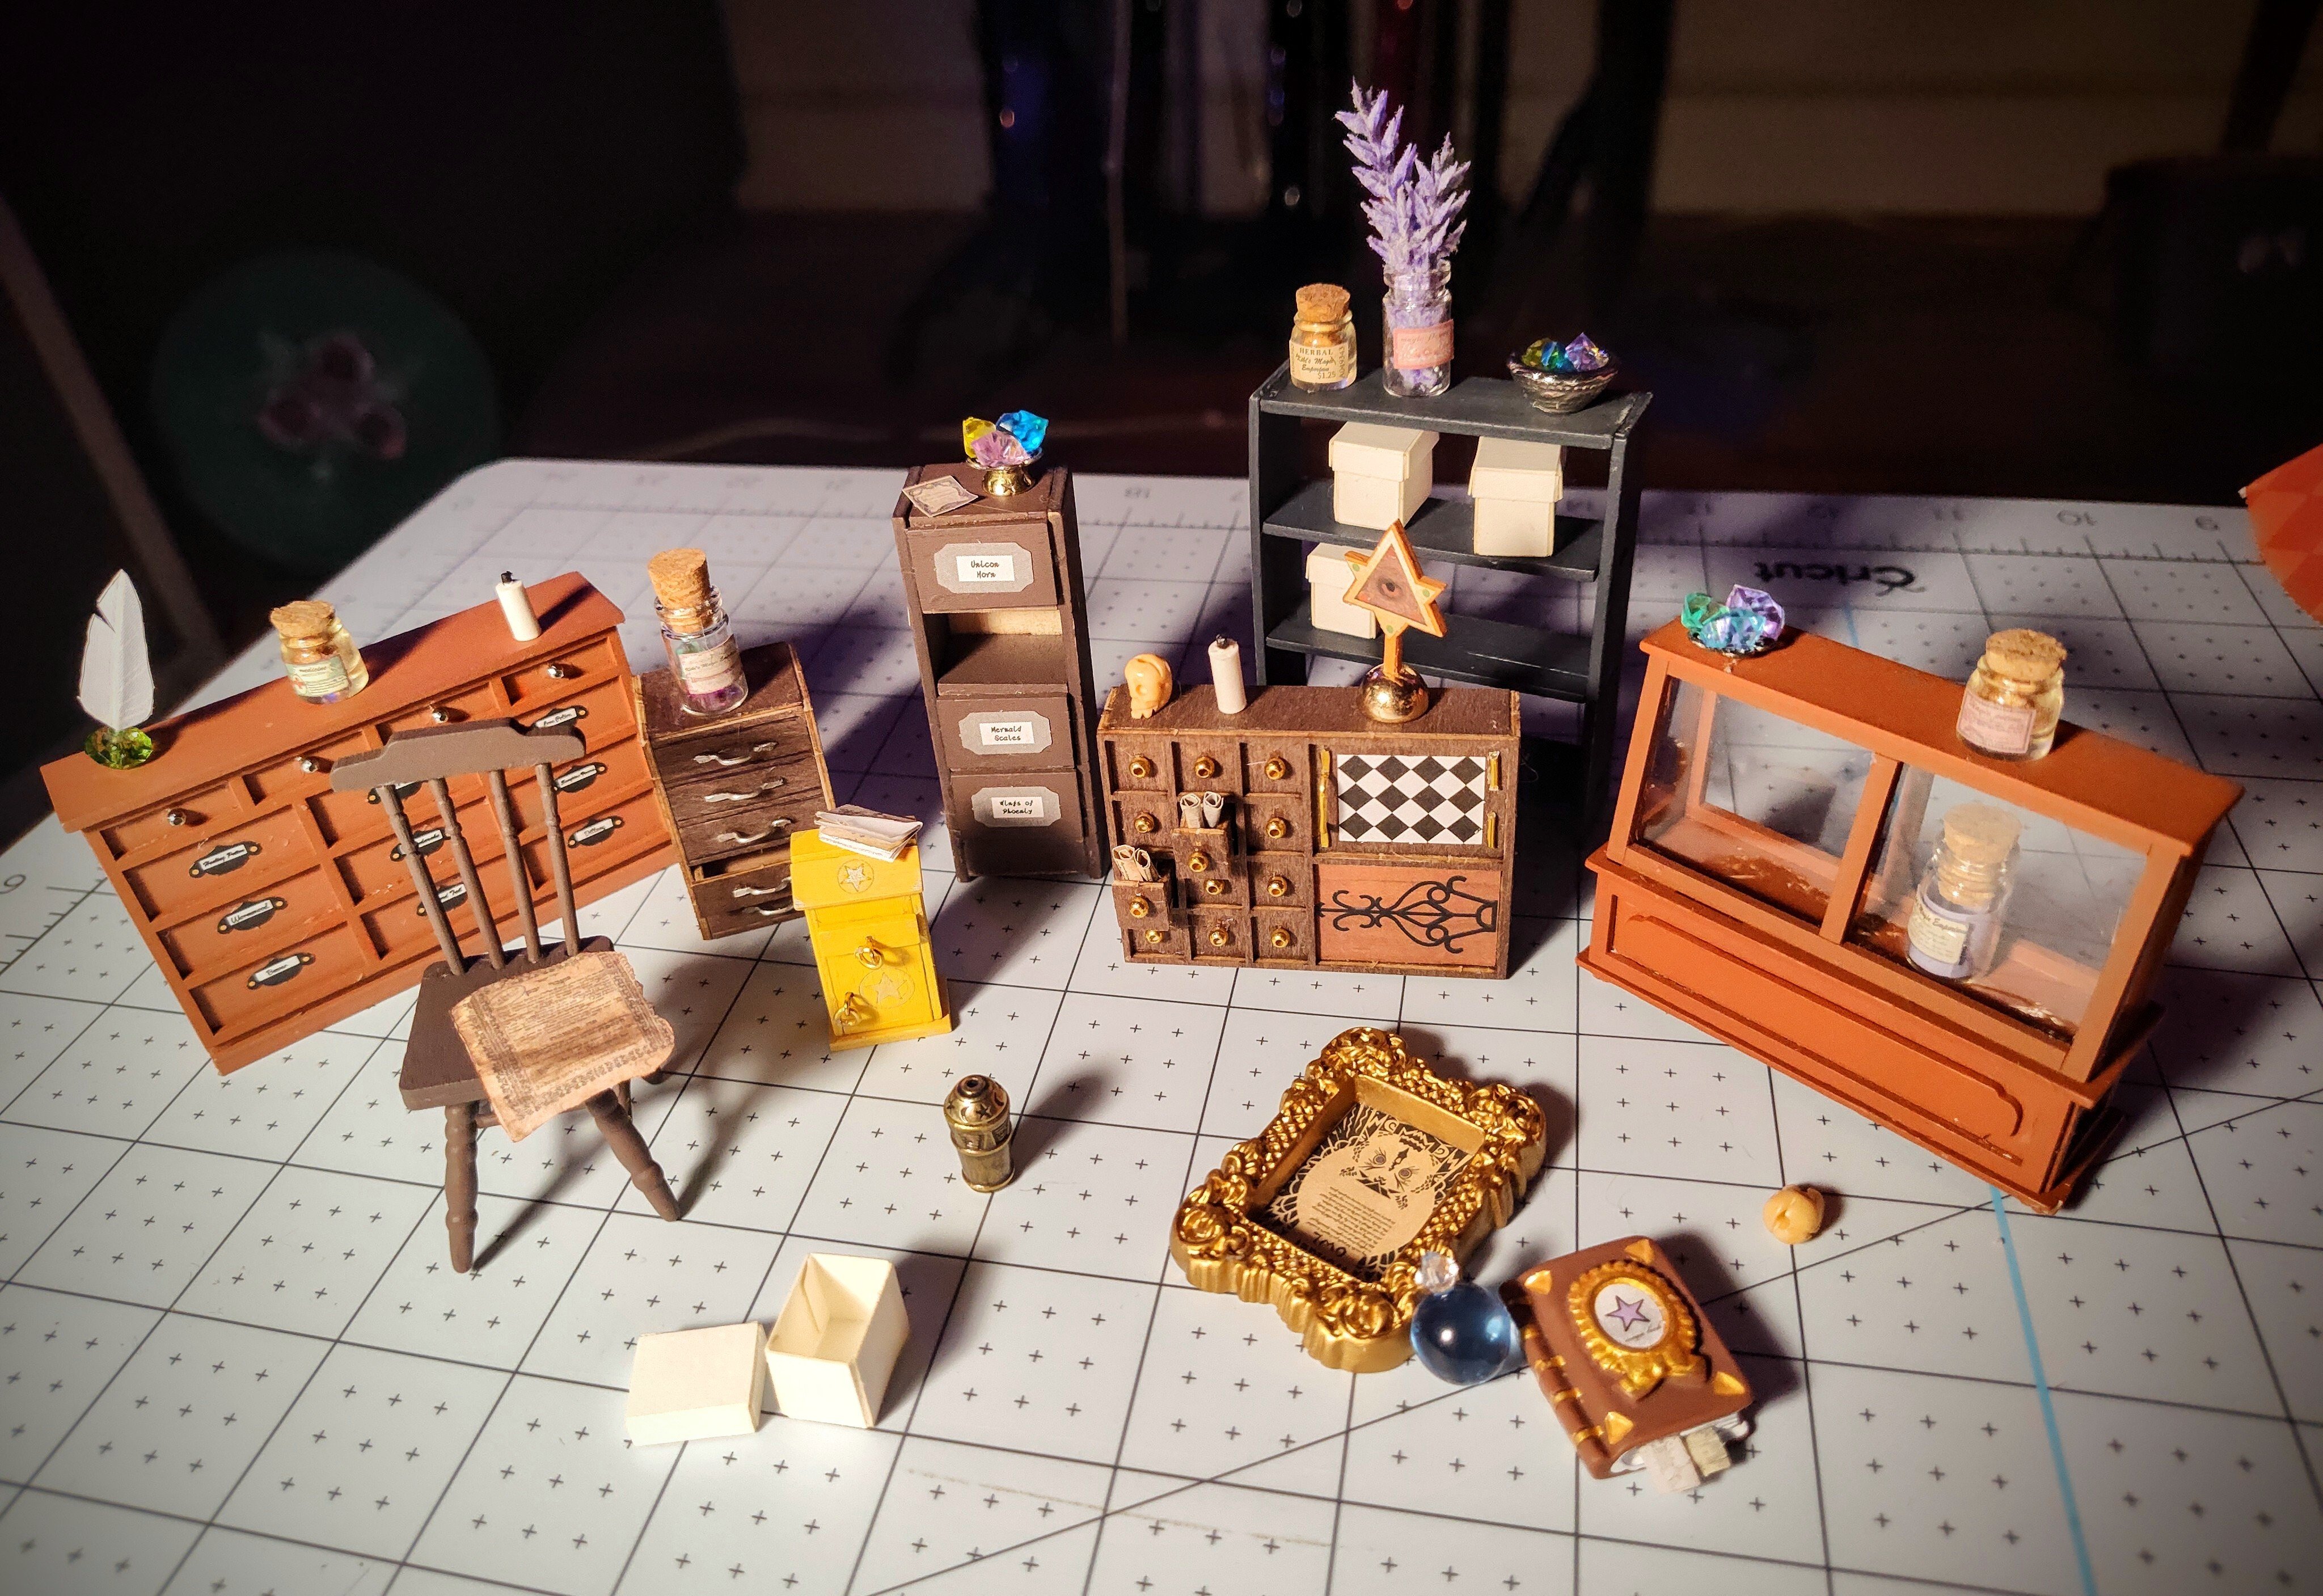
There are so many tiny props in this thing lol! There are a few more smaller pieces to assemble and I’m working on the sign now, then I can start on the room where it all will come together!
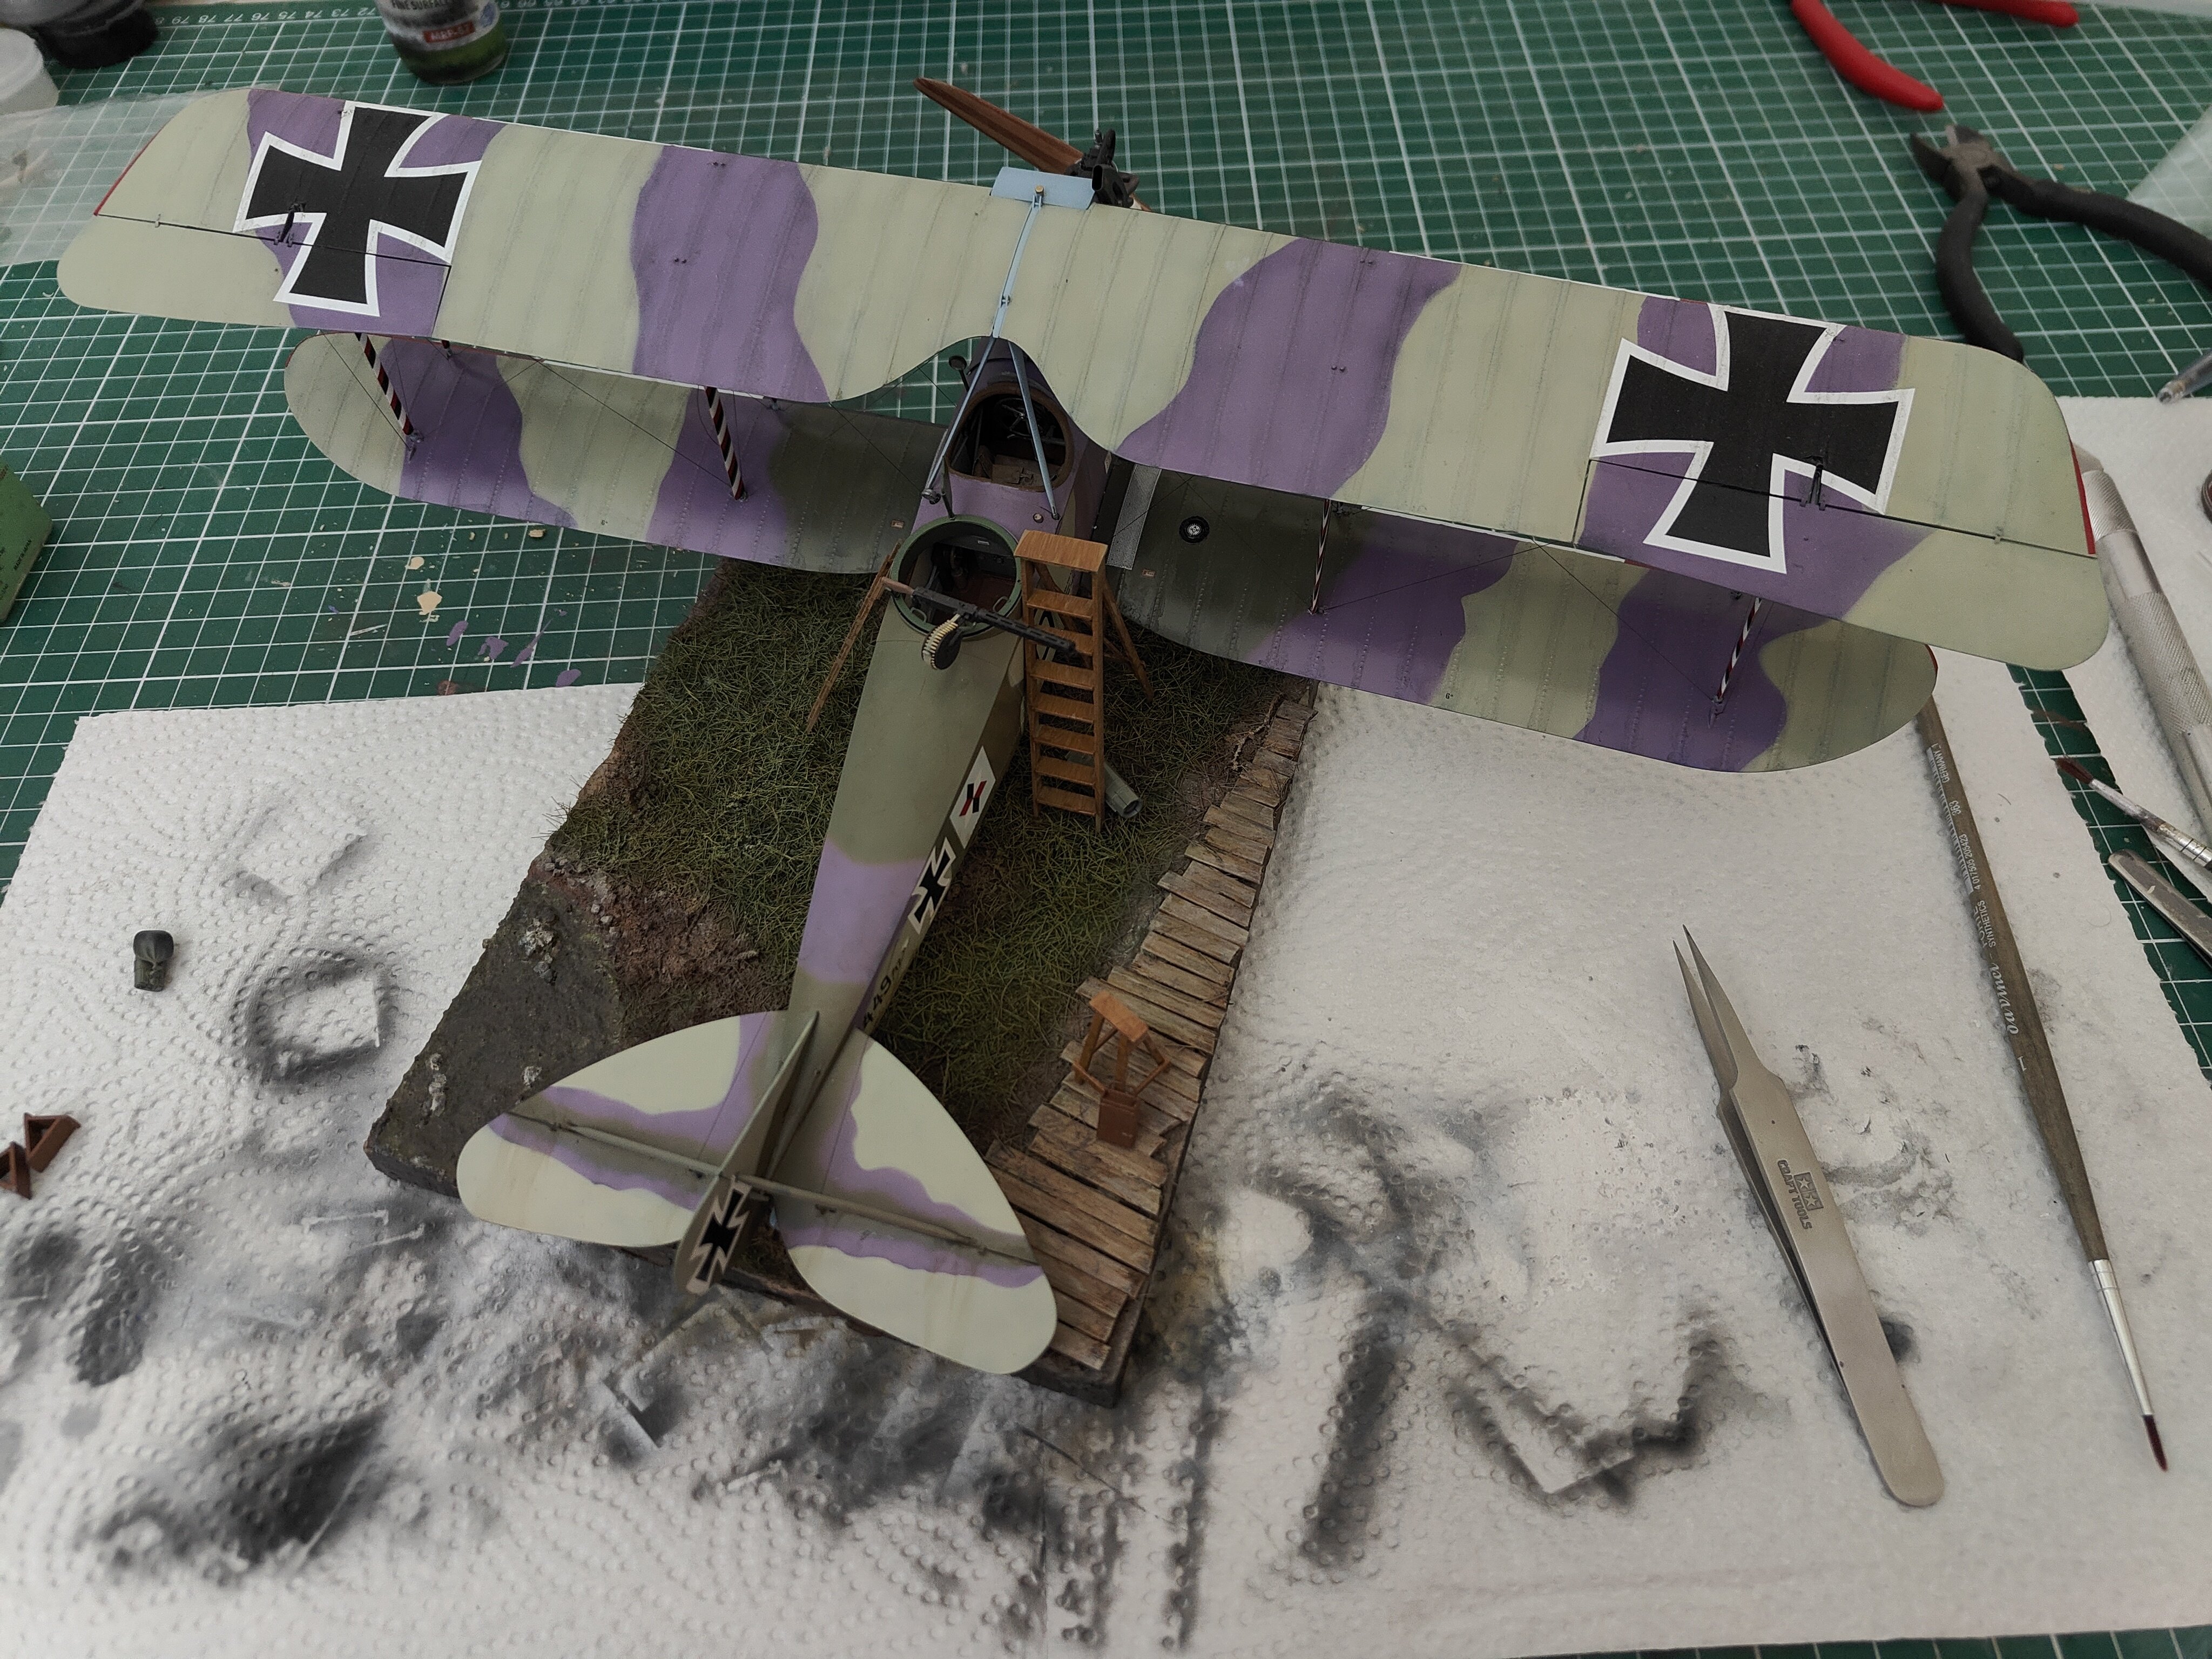
This one is quite a bit more difficult than the last one, but SO much fun! I will have to do a lot of cleanup on some of these before I assemble the full finished model, but it’s going great so far!...
I put the penny there for scale! Looking at it in closeup like this I can see a lot of mistakes I made, but that just means the next one will be even better!
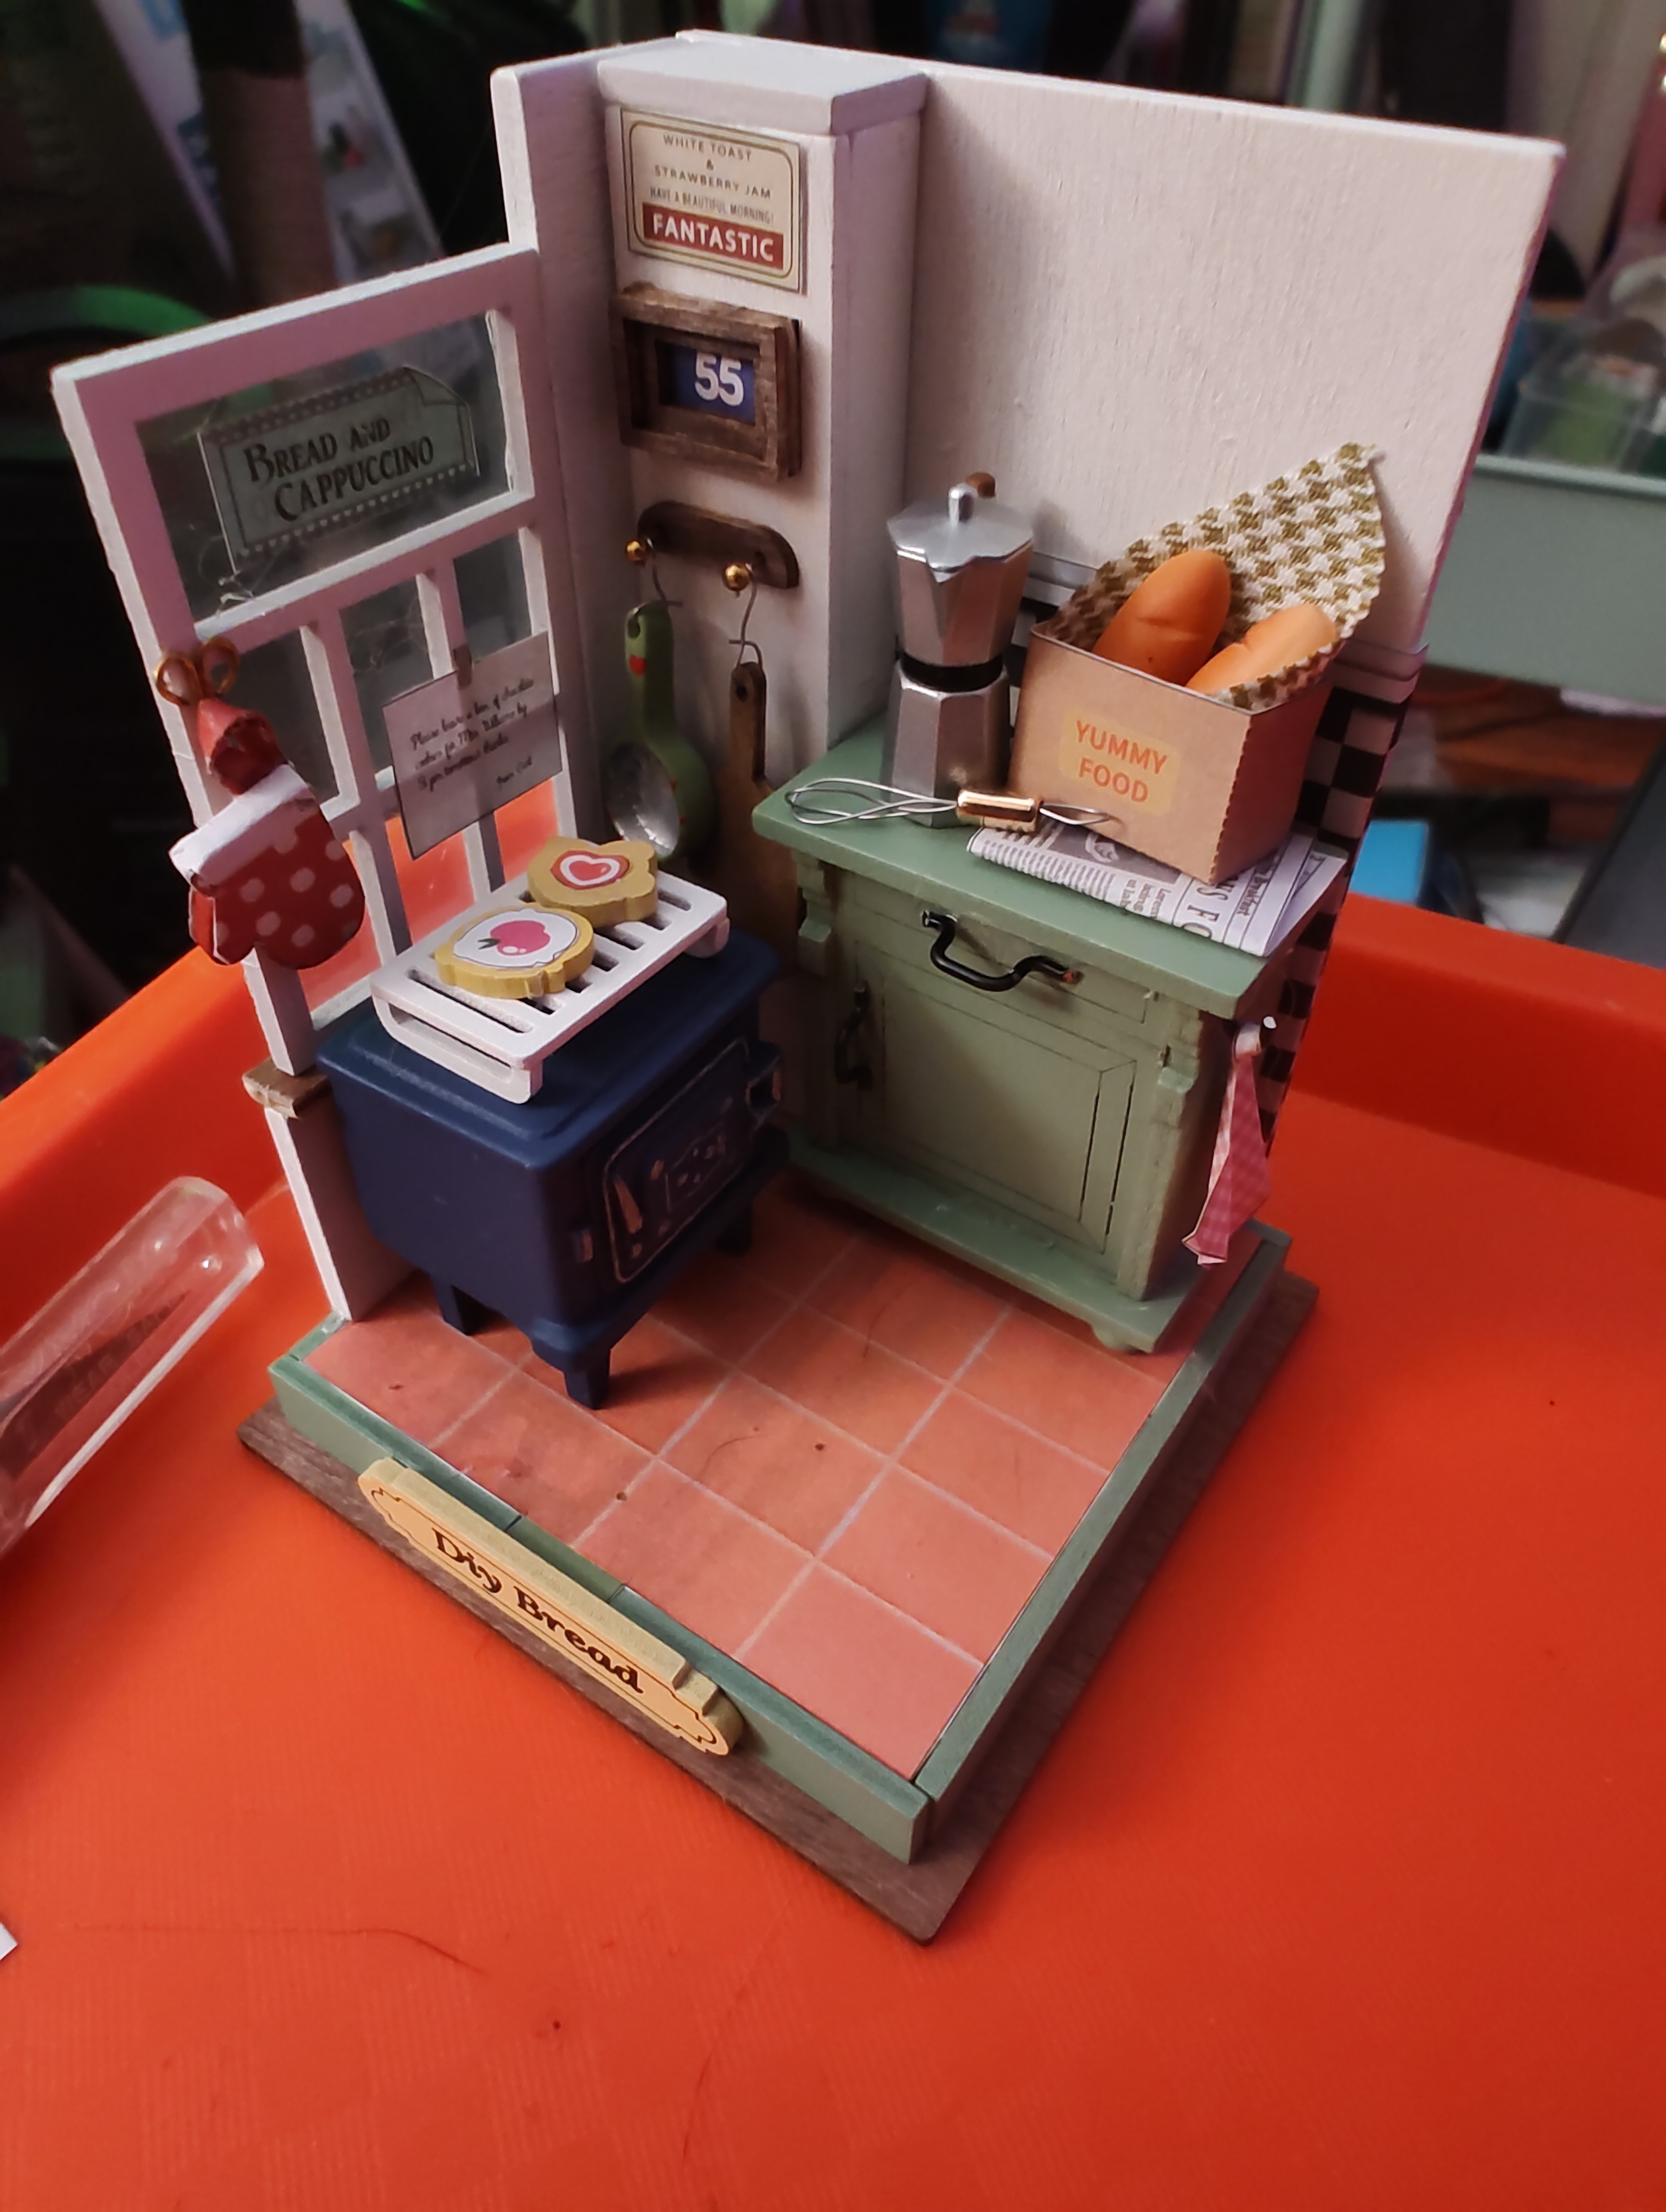
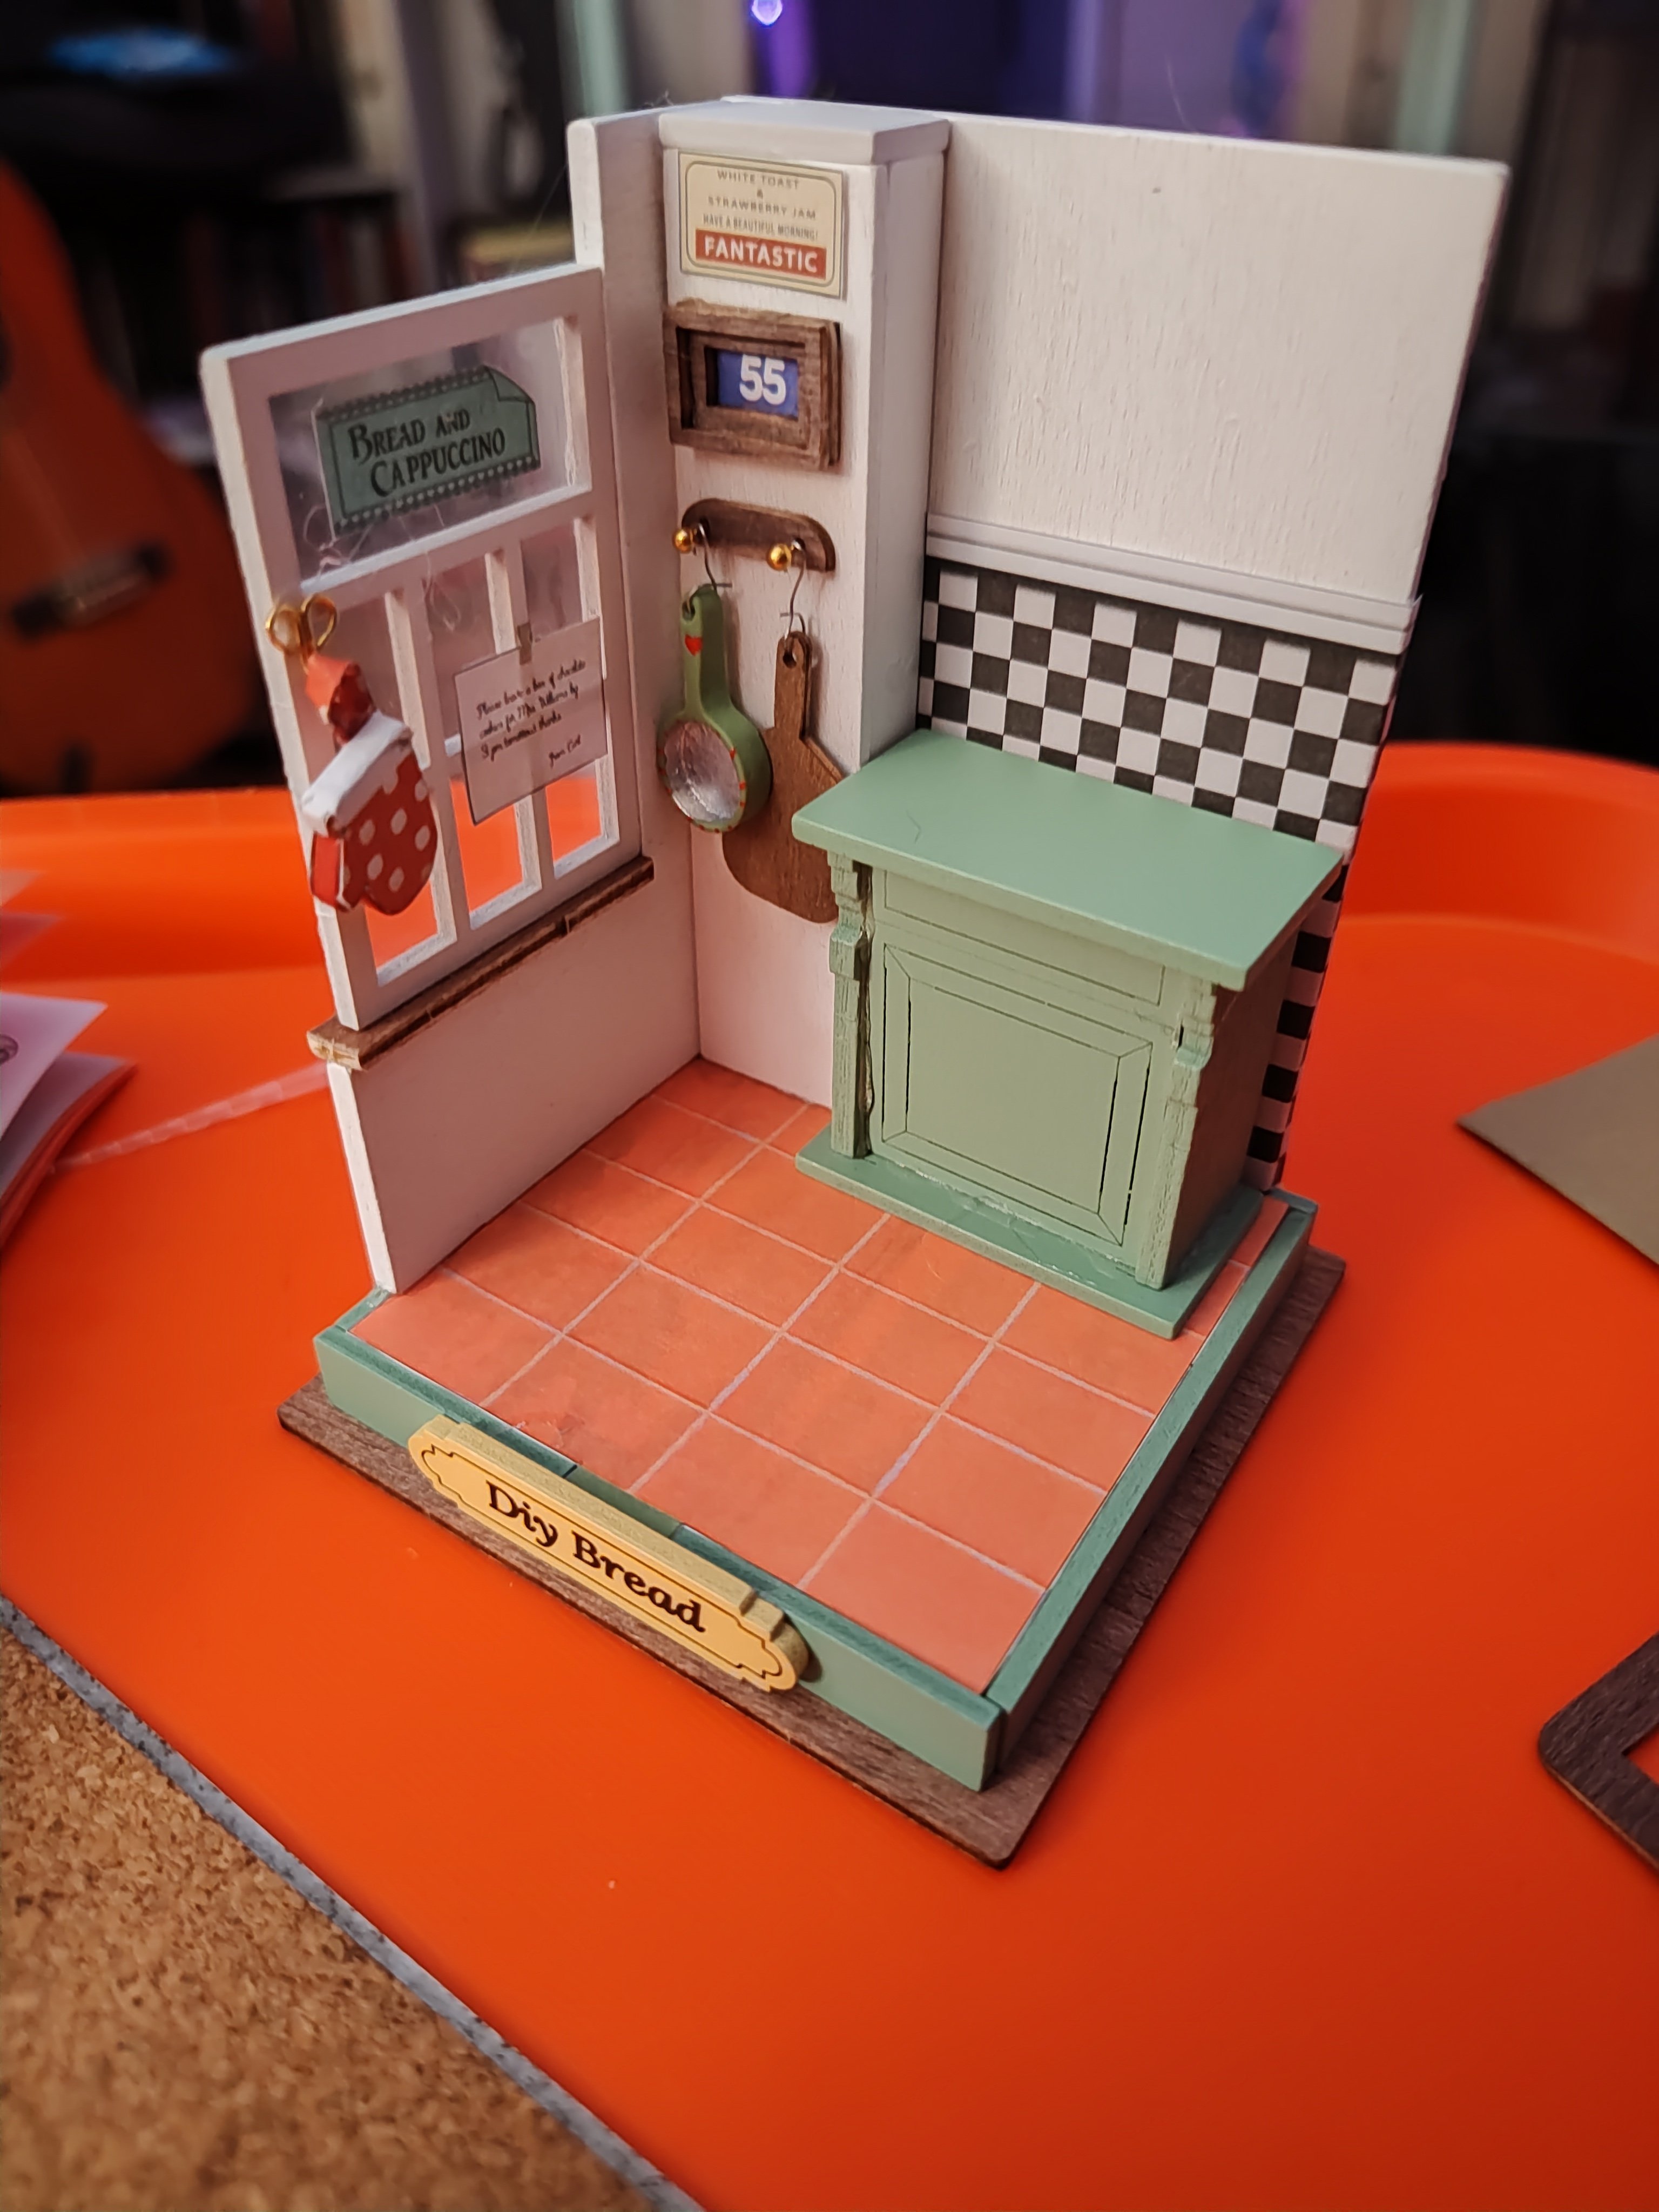
I don’t think I’ve built a model in nearly a decade, but I was feeling very low today and something about this little kitchen scene I found at the local craft shop really appealed to me!
I’ve got a 3D printed project, and went over it with a couple of airbrushed coats of a 50/50 mix of Tamiya X-35 (their alcohol-based acrylic semi-gloss) and Mr Color Levelling Thinner. As far as I can tell, it looks good so far, but now the room next to the one I sprayed in smells of solvent a few hours later, despite...
So my first model from revell Just to keep my hands busy 🤣 It supposed to be a tiki tiger only thing not from kit are the tracks. I have melted original ones 🙄 https://i.imgur.com/h0pttNO.jpghttps://i.imgur.com/SUp4tMN.jpghttps://i.imgur.com/CPiHVYp.jpghttps://i.imgur.com/htMwLgQ.jpg
Rust effect created by layering red/dark brown/light brown/orange/orange and tan/tan paint. Each layer was very thinly applied. Scotchbrite (fine grade) was used to homogenise the colours occasionally, then layering continued.
Preparation of the mech I designed in FreeCAD, then printed on an Elegoo Mars 2. Pieces still need to be cleaned up a bit before being assembled, and I am not sure on the pose I want it to be in when finished (it is designed to be multi posable, not just to be assembled in one particular position). Also, no idea on a colour...
I finished the Sea Harrier yesterday. My third finished kit. Had some interesting mistakes along the way, and it was the first time reviving such old decals (yellowed and broken). Learned a lot. Given the troubles I had, I am very happy with the end result....


