Does anyone have any tips or tools to help with managing slicer profiles using inheritance? I primarily use SuperSlicer but have been dabbling with Orca Slicer recently....
First I’d like to say thanks to everyone for looking at these posts and trying to help, and sorry to anyone who may be annoyed. Trust me, I’m not happy either....
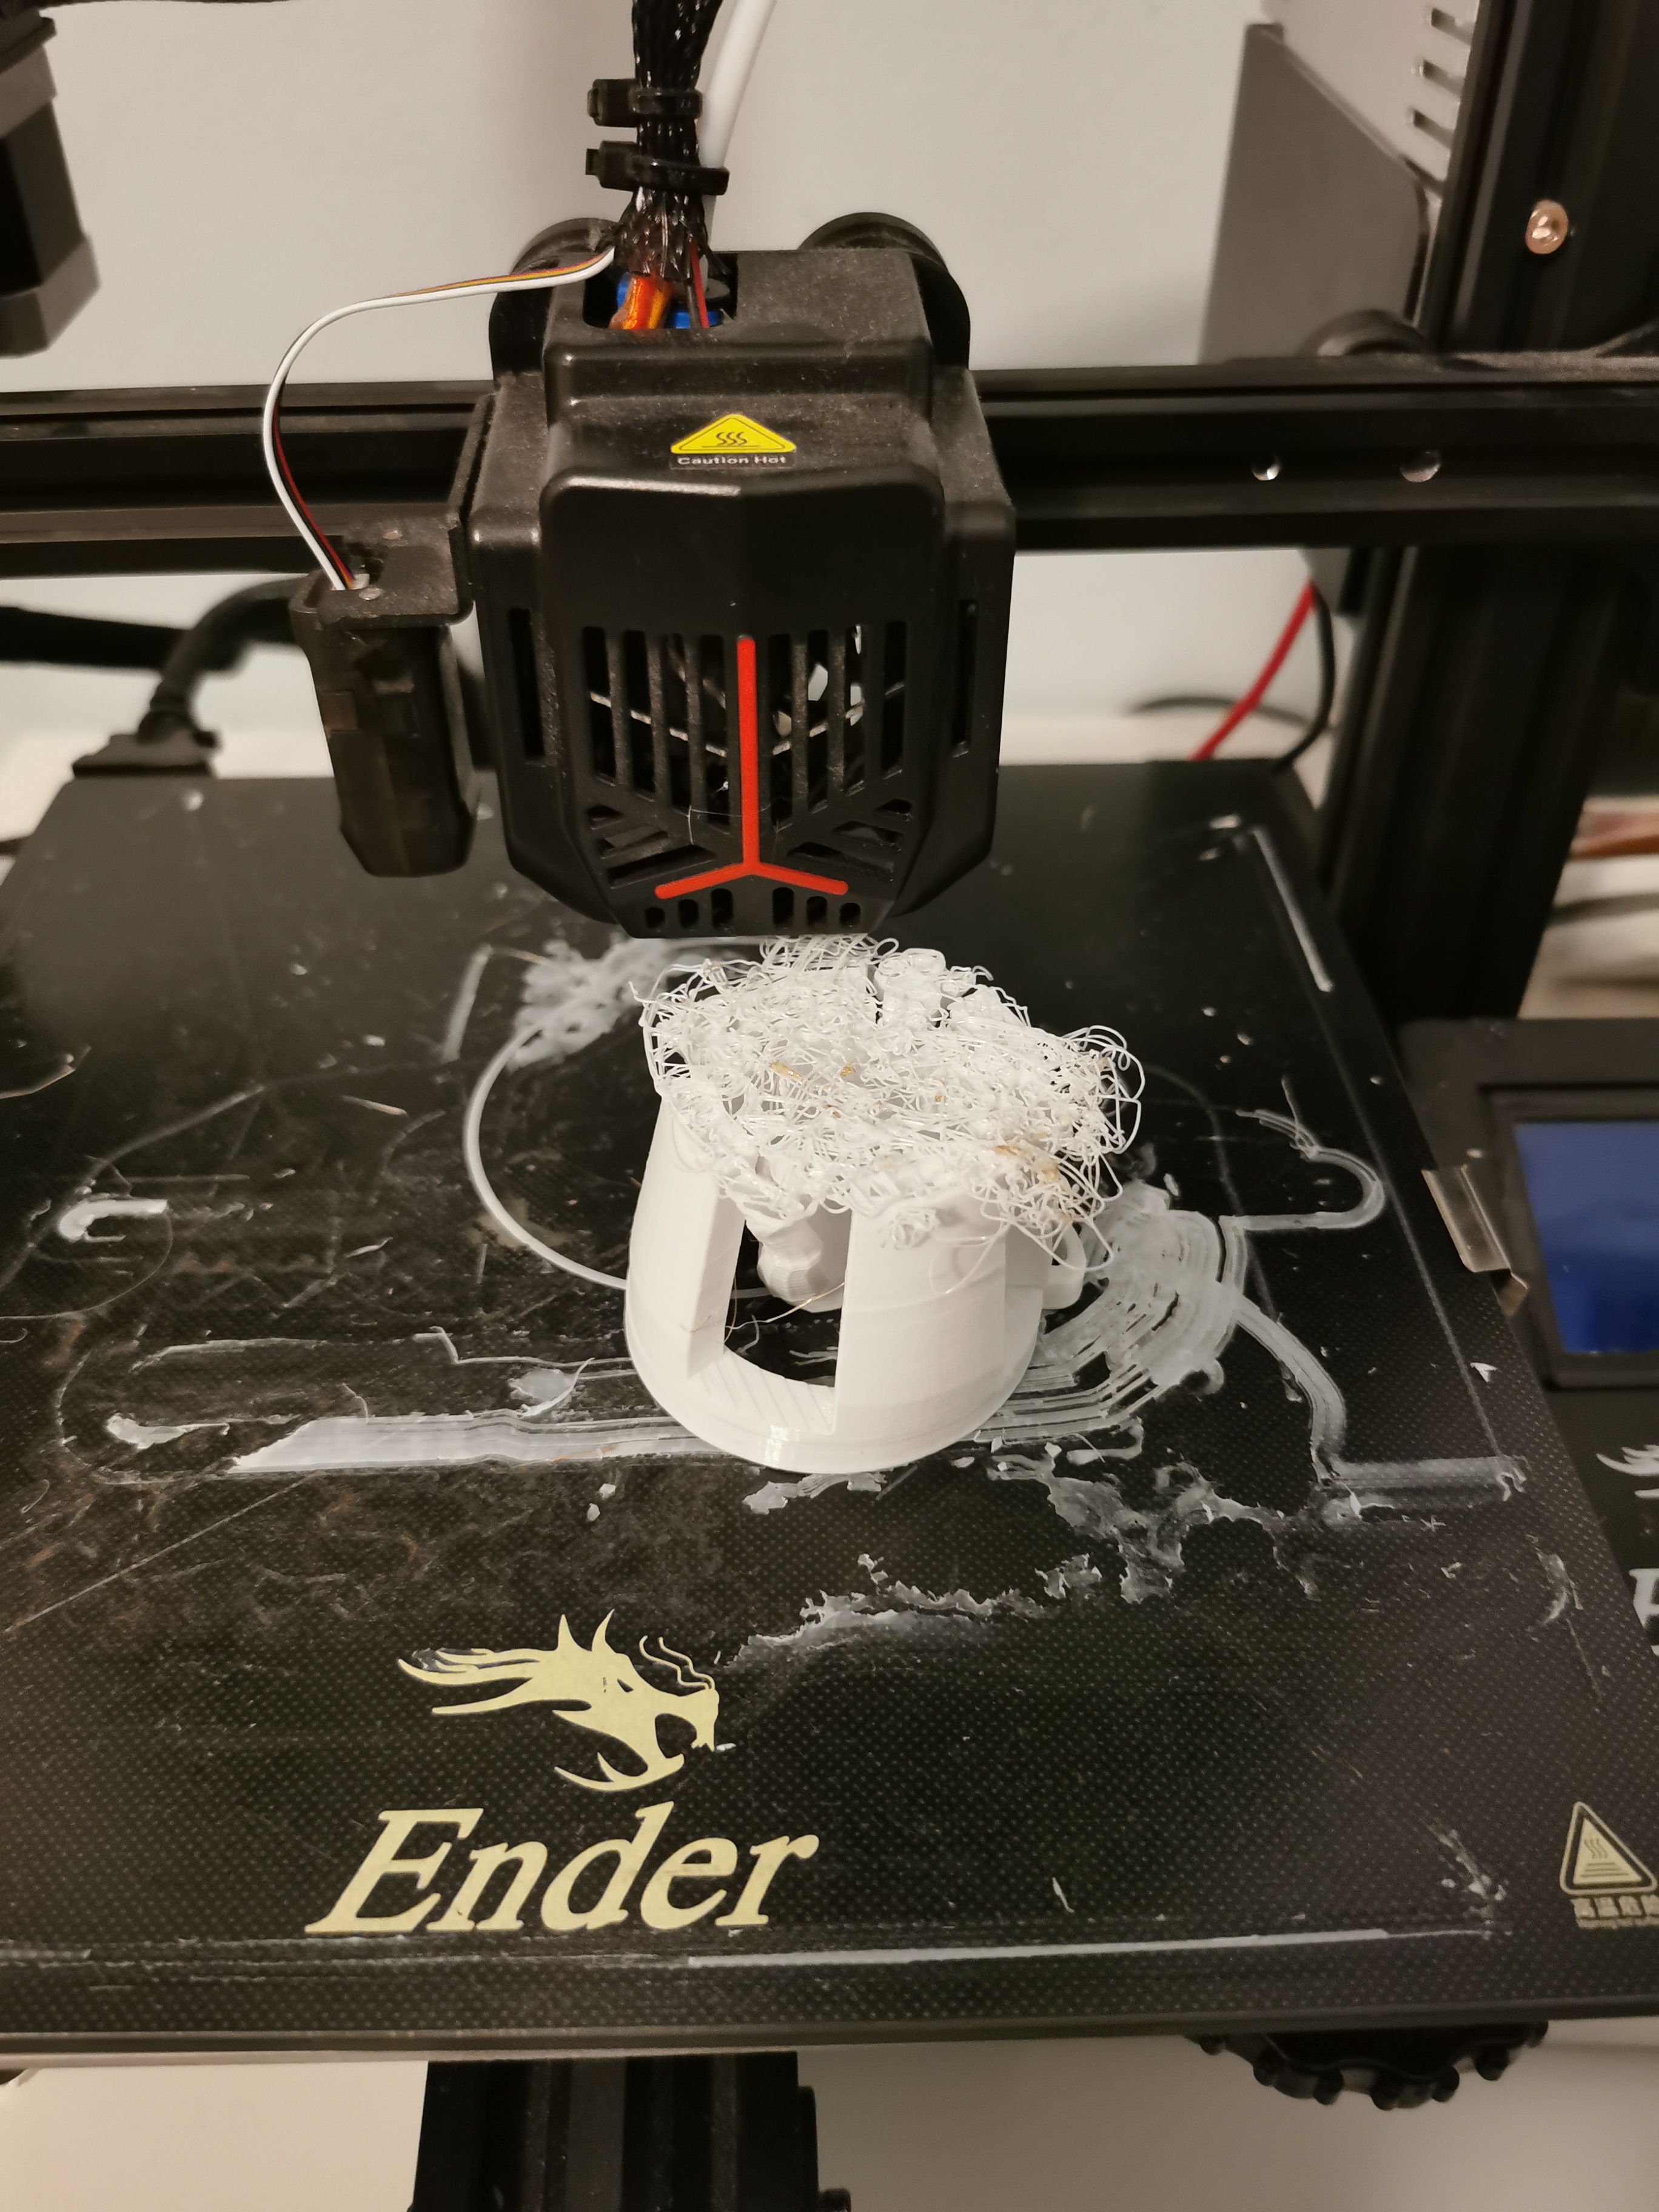
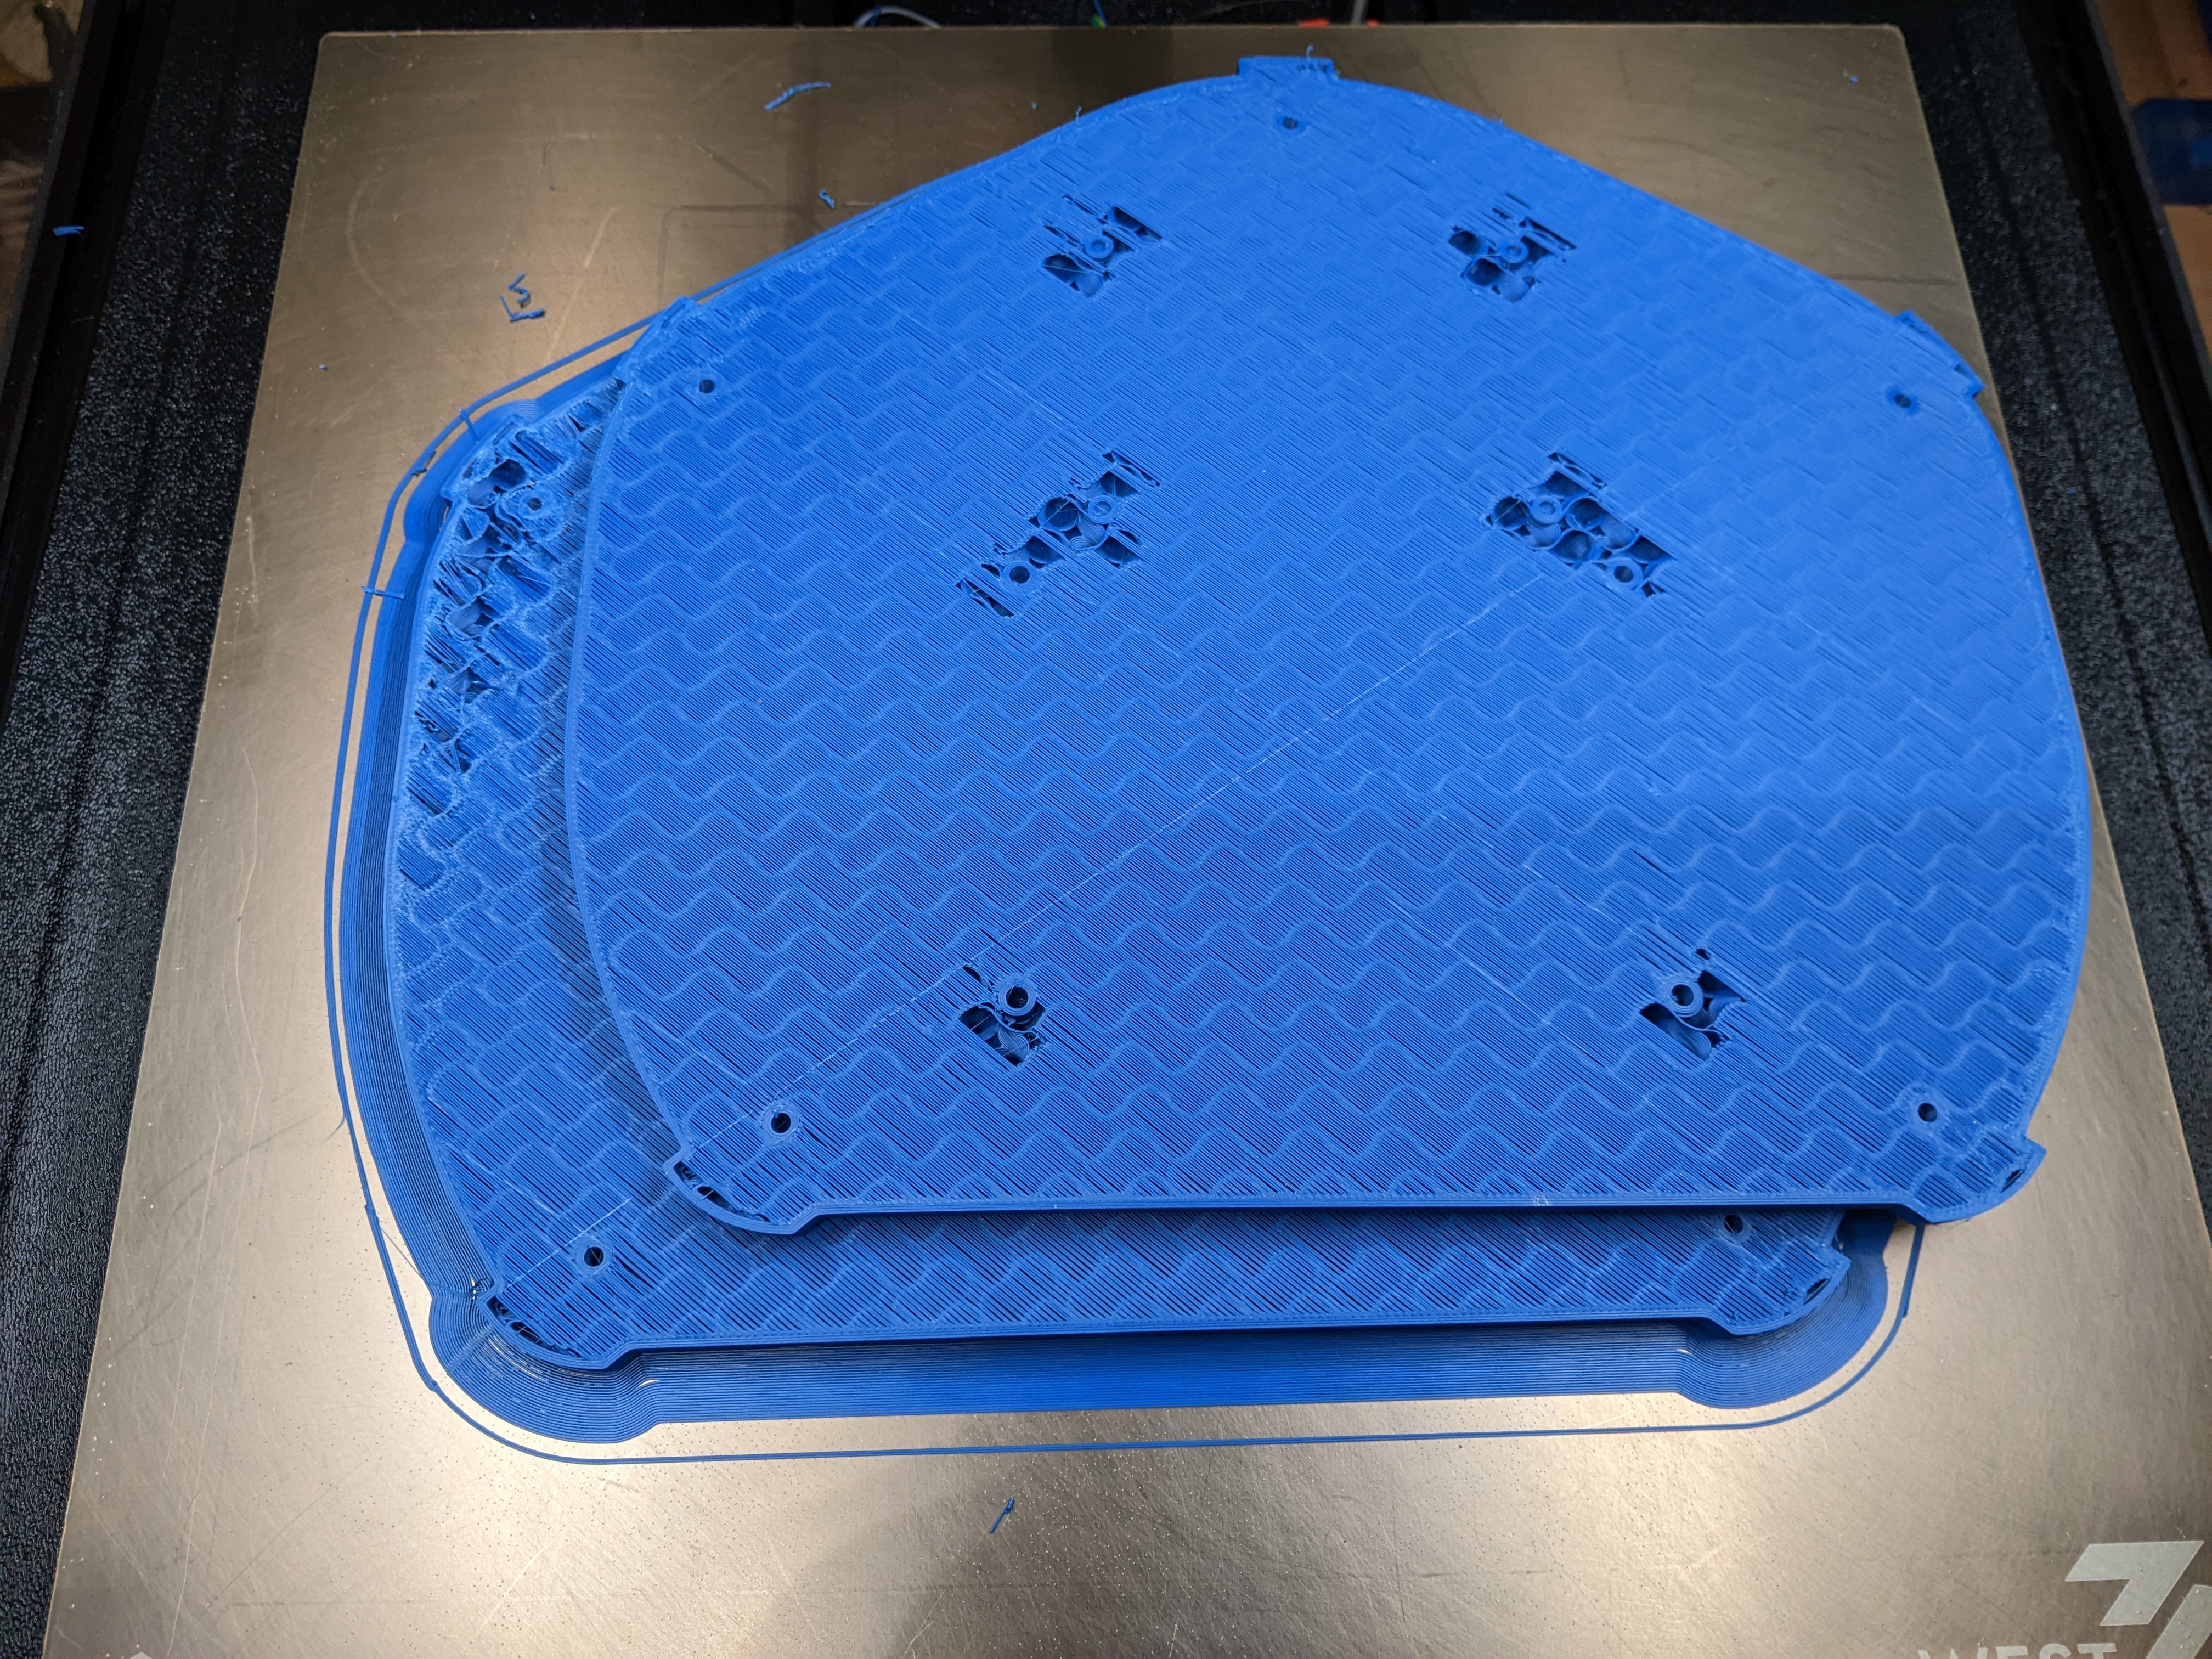
Anyone have any idea what might cause this sort of issue on PLA? I run into it frequently, but pretty much only when all of the following points are true:...
Hi all. This is an update to this post. I don’t know what else the community can do to help, but I figured I’d throw some more content up there and give something bored people to look at....
**EDIT: In the interest of full disclosure, I had a filament break about 1/3 through, but that’s okay because the partial PLA print was nowhere near strong enough along the layer lines. There are plenty of decent 3D printed keyboards out there that just need some assembly and post-processing, so if this one doesn’t work...
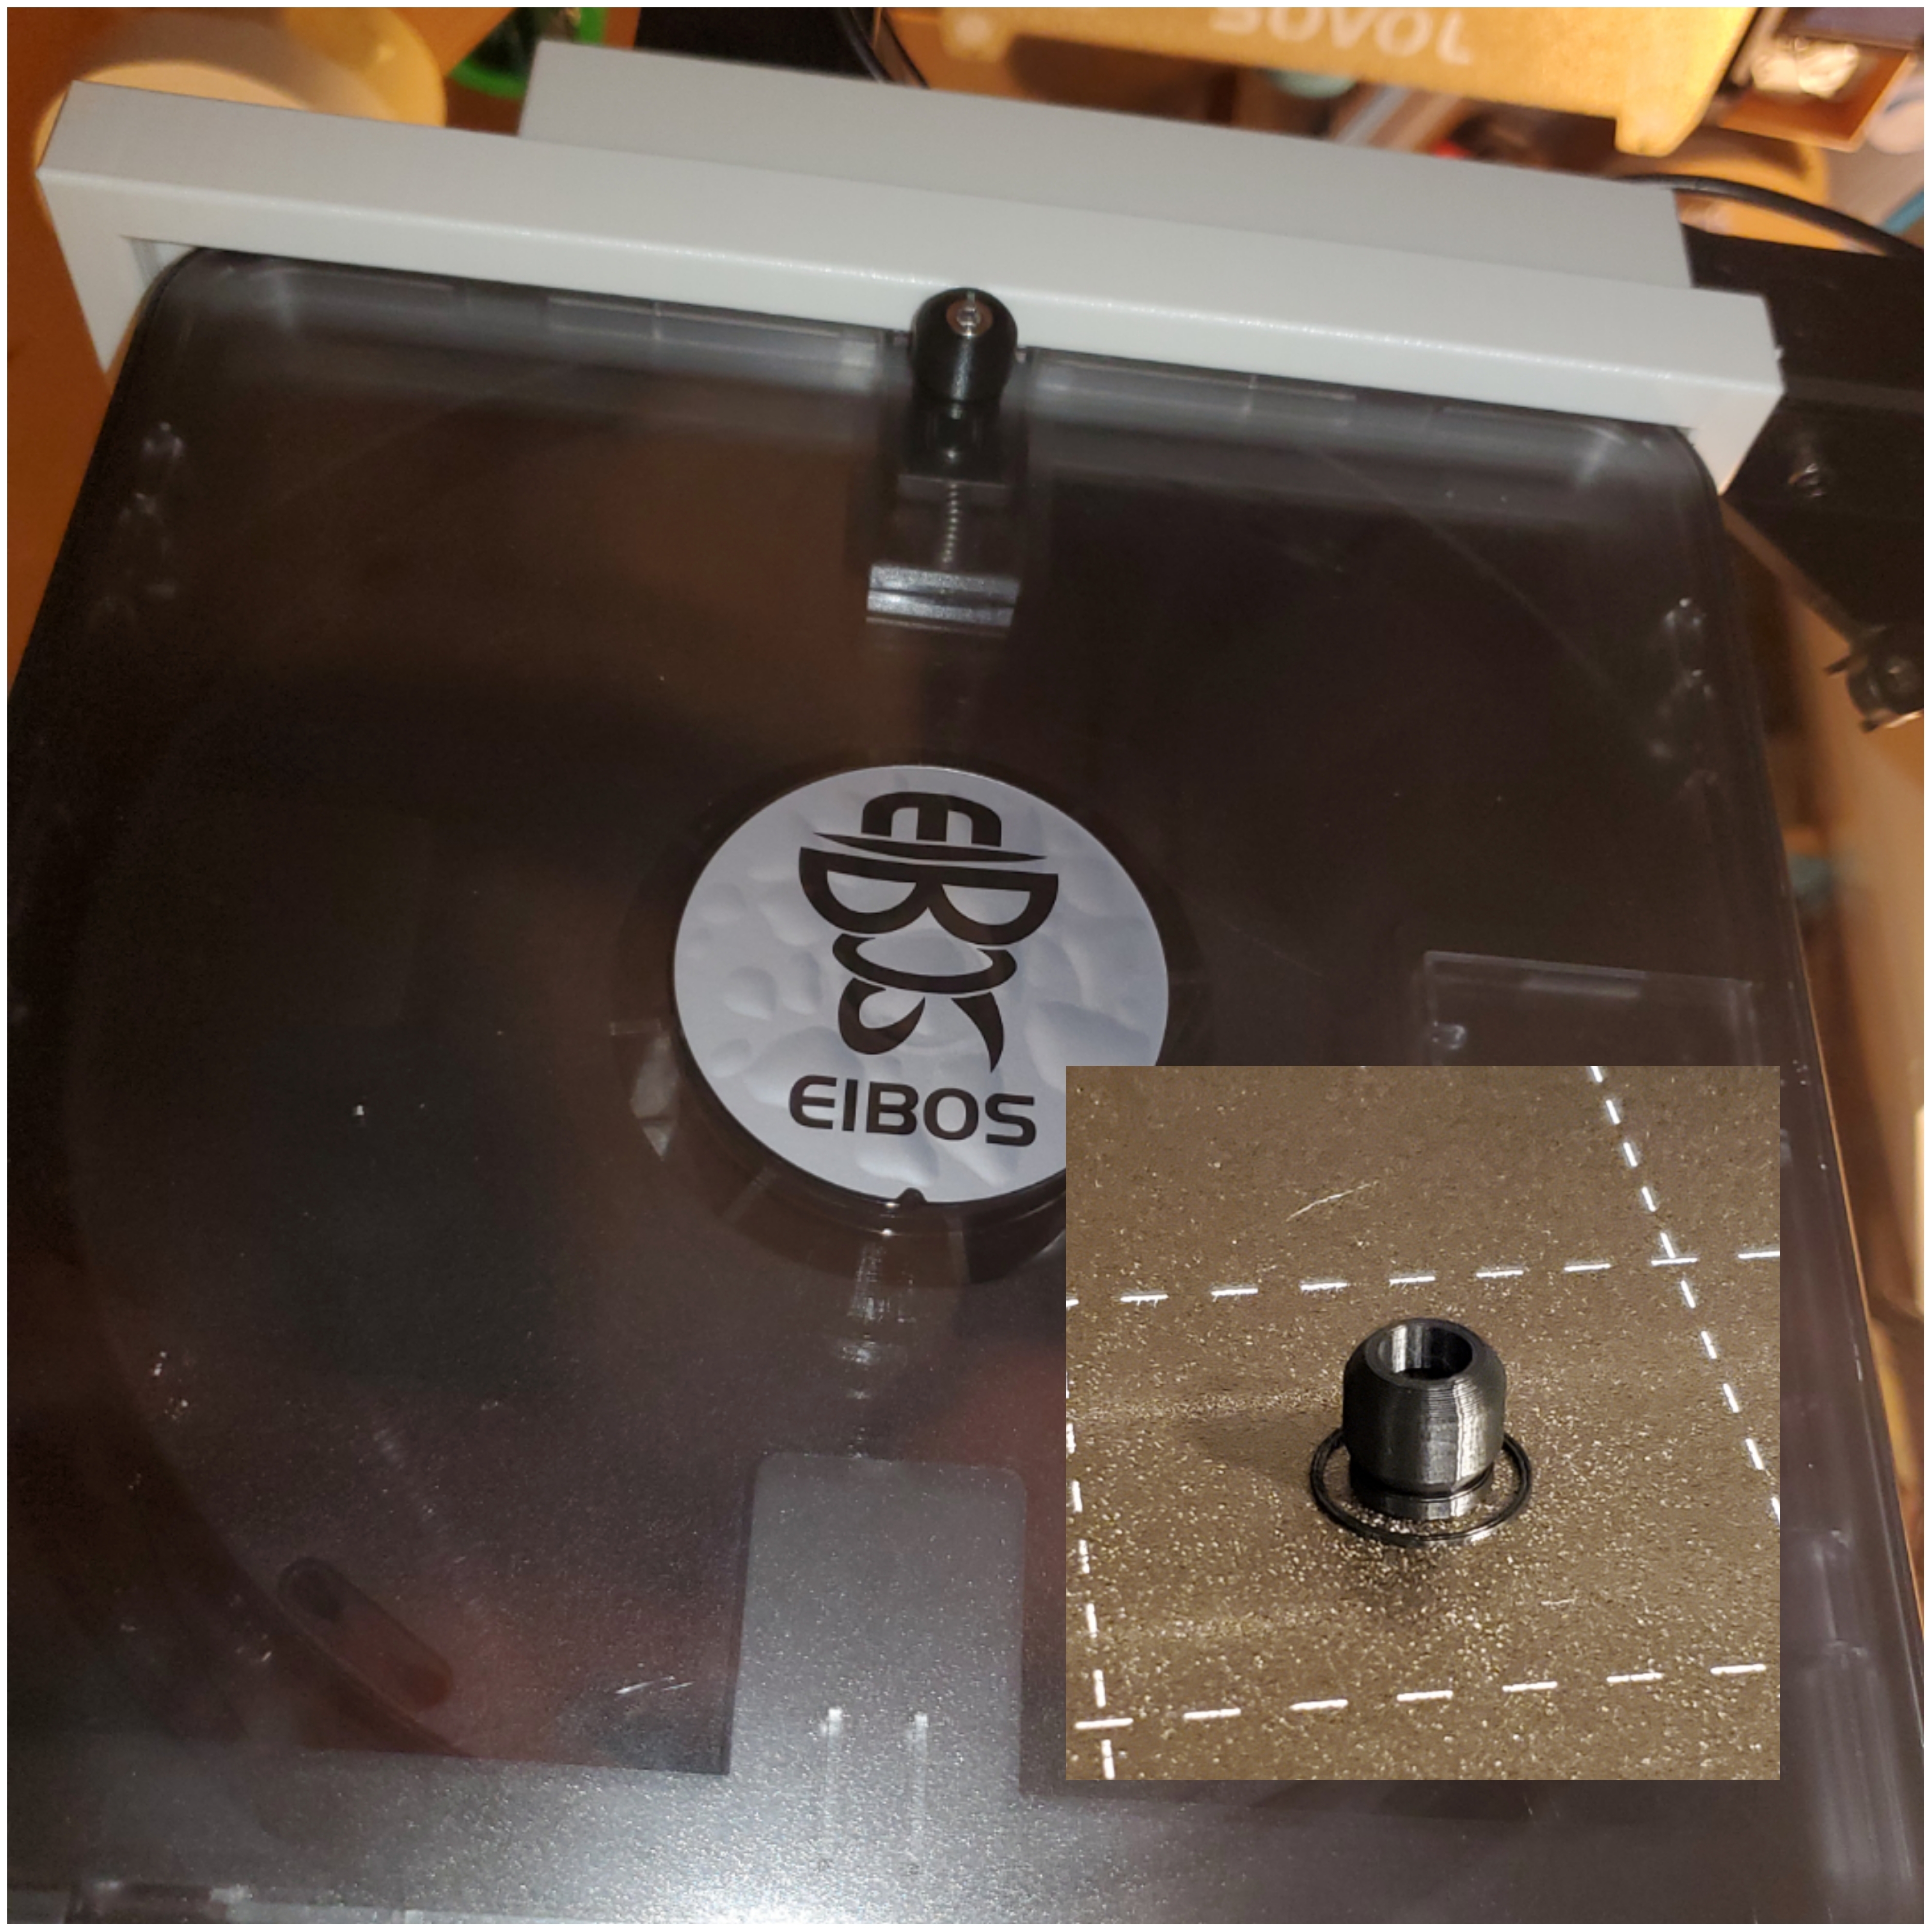
The printer is a Voron 2.4, the extruder is a StealthBurner, and the hot end itself is a Rapido MK1. I’m printing Polymaker ASA on a spool that hasn’t given me any grief thus far (I last printed with it a few days ago) and am slicing with Orca Slicer....
Quick and dirty 5 minutes craft: Draw a rough shape, define the contact surfaces & load, click run, and get the optimized shape. The last step is converting the output to a printable shape and running one more simulation to double-check it is strong enough....
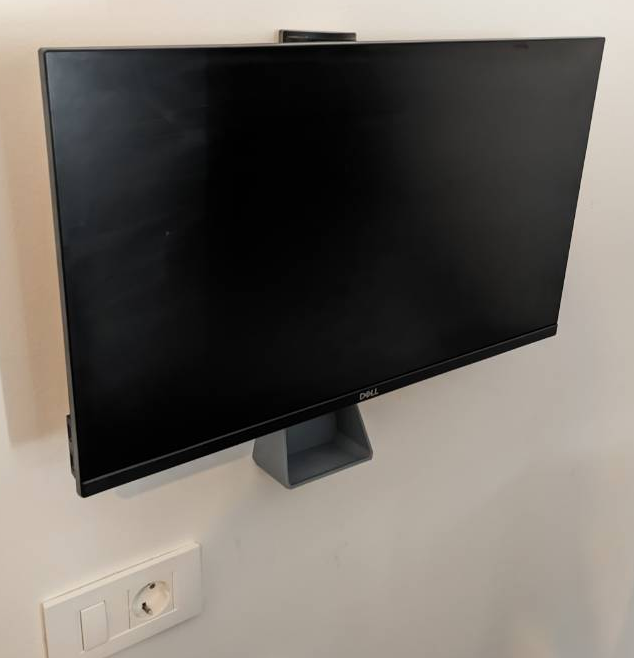
This is a custom wall mount for my 2nd screen Dell P2417H (simmilar models with same stand will fit as well). It’s a 24" monitor with pivot stand (can adjust up/down, portrait/landscape and tilt), but it doesnt suppport vesa mount (edit: this is wrong, it does support vesa, but then cant use pivot mechanism). I wanted it on...
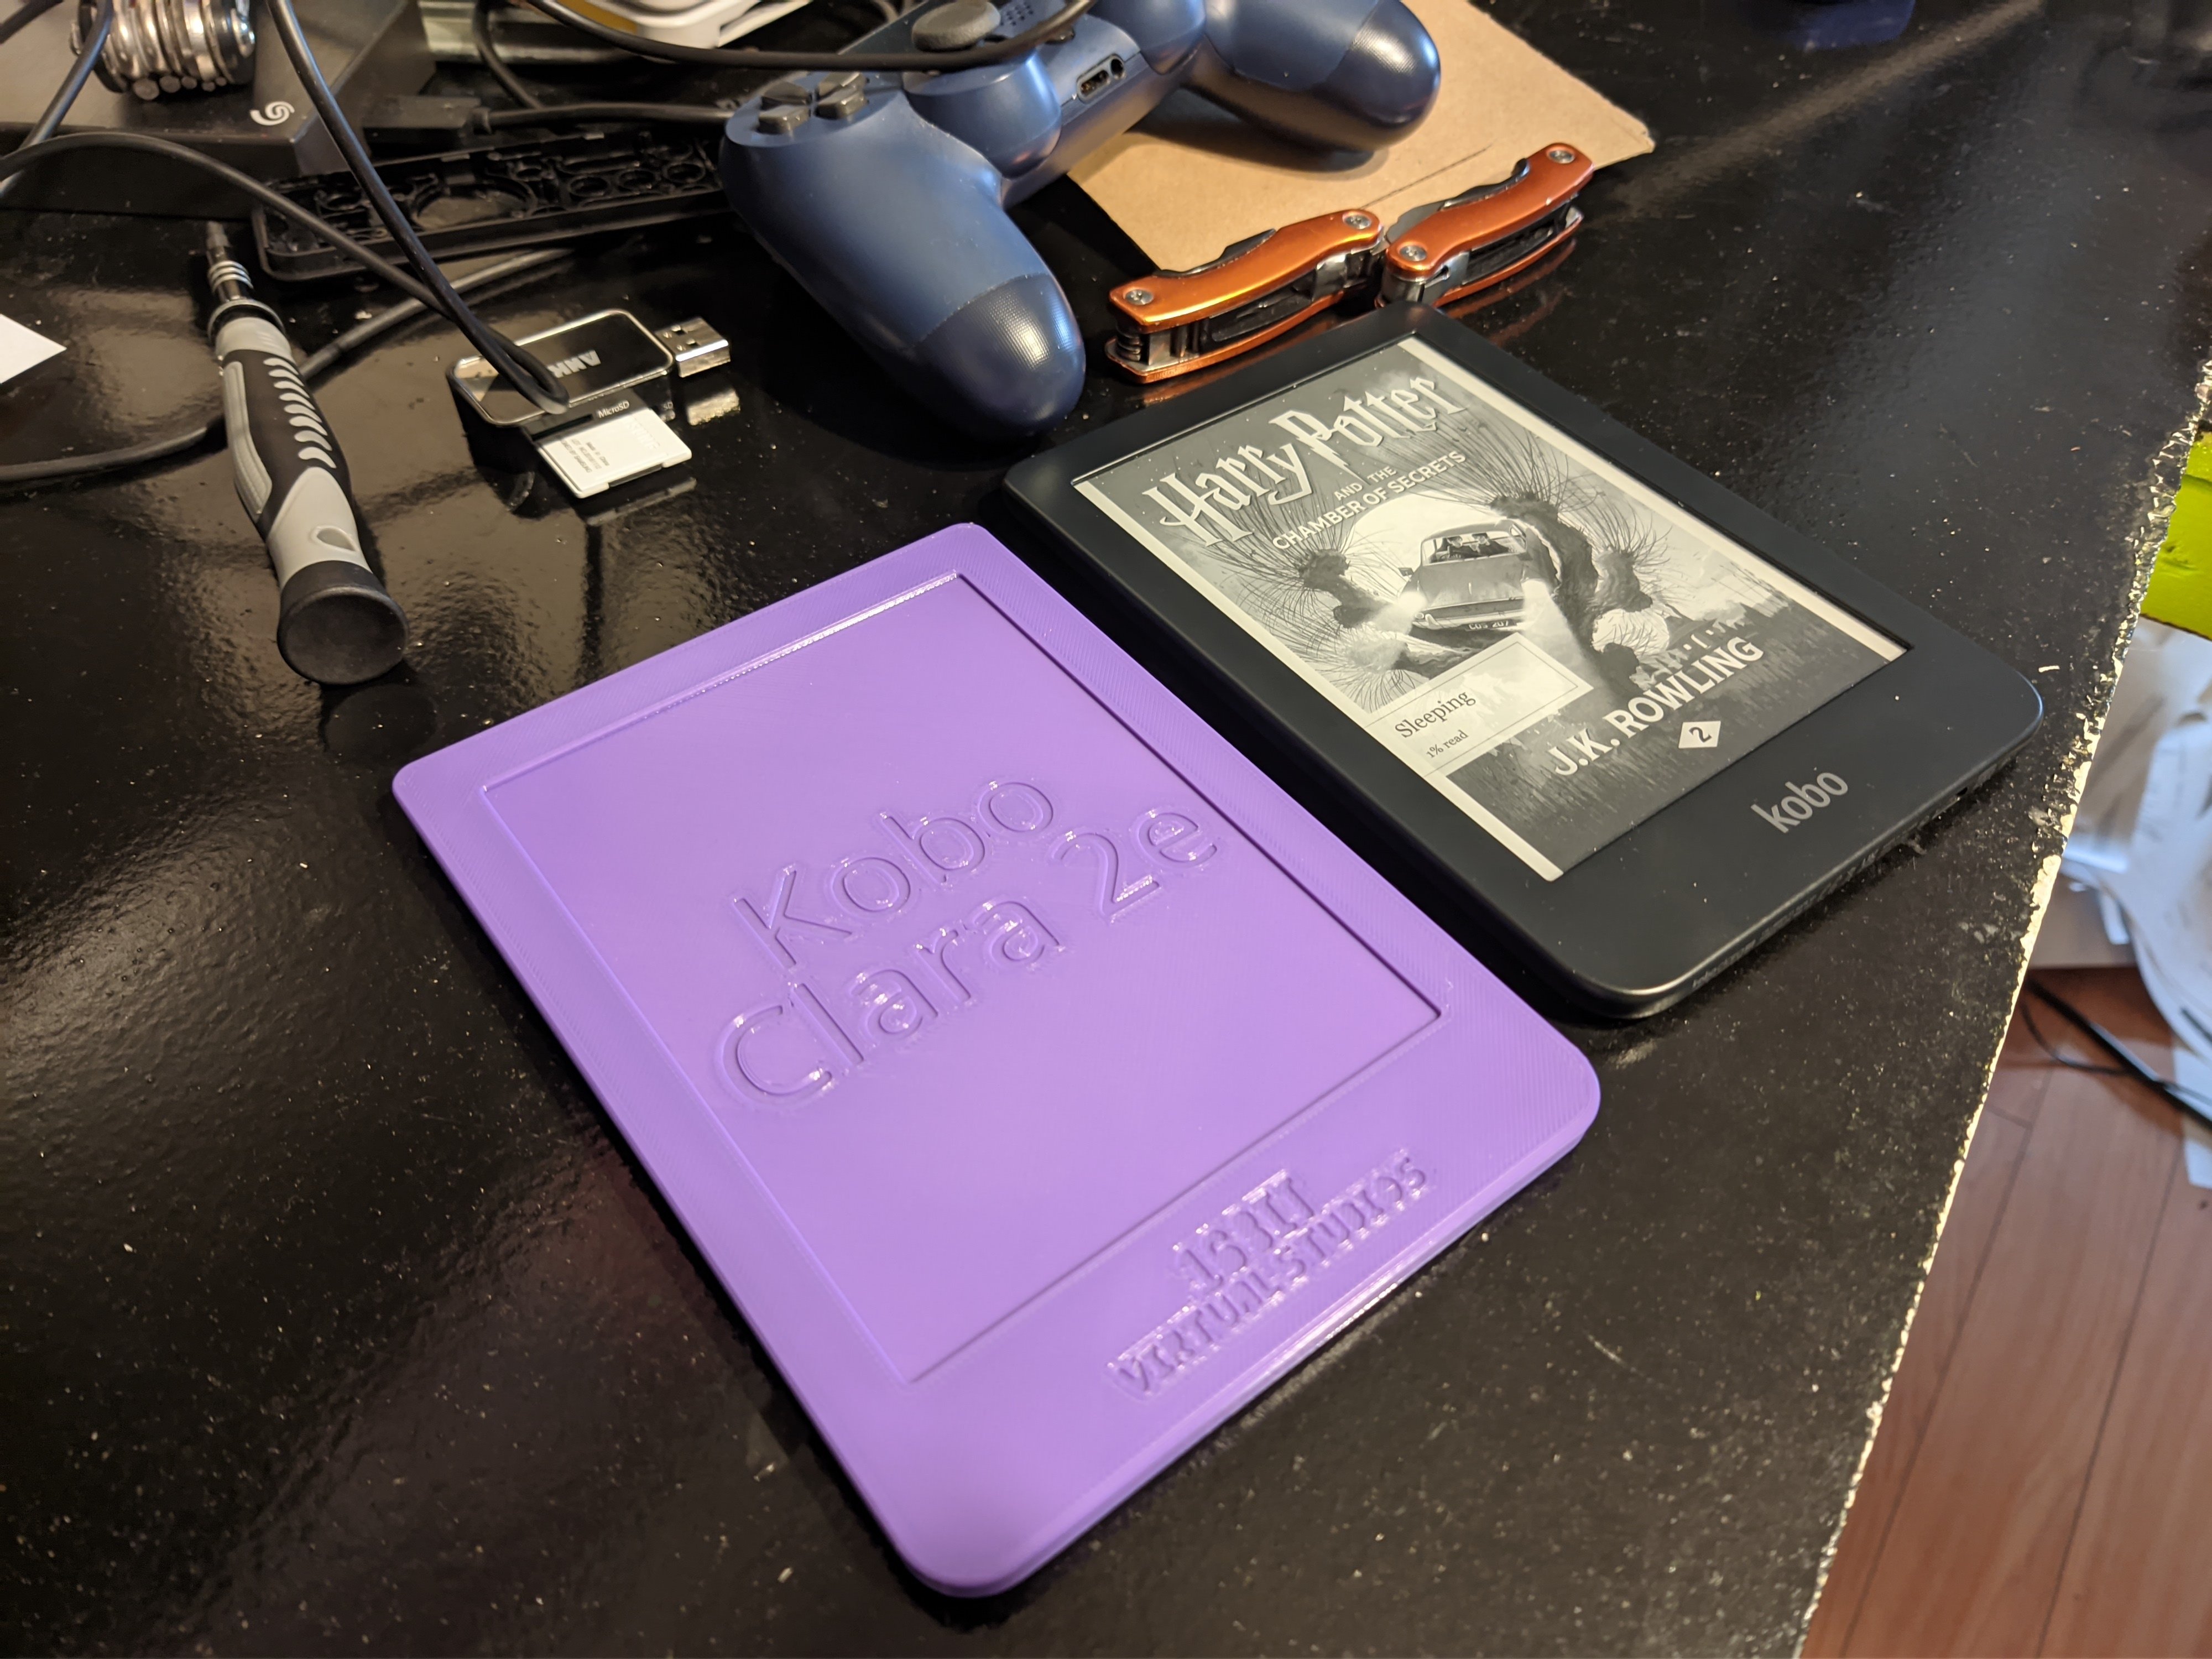
The other reason is because I got the Kobo Clara 2e to make a e-reader case for it, which I did. And now I don’t need it any more, but I’d like a stand in for it just in case, I need to test fit and finish....
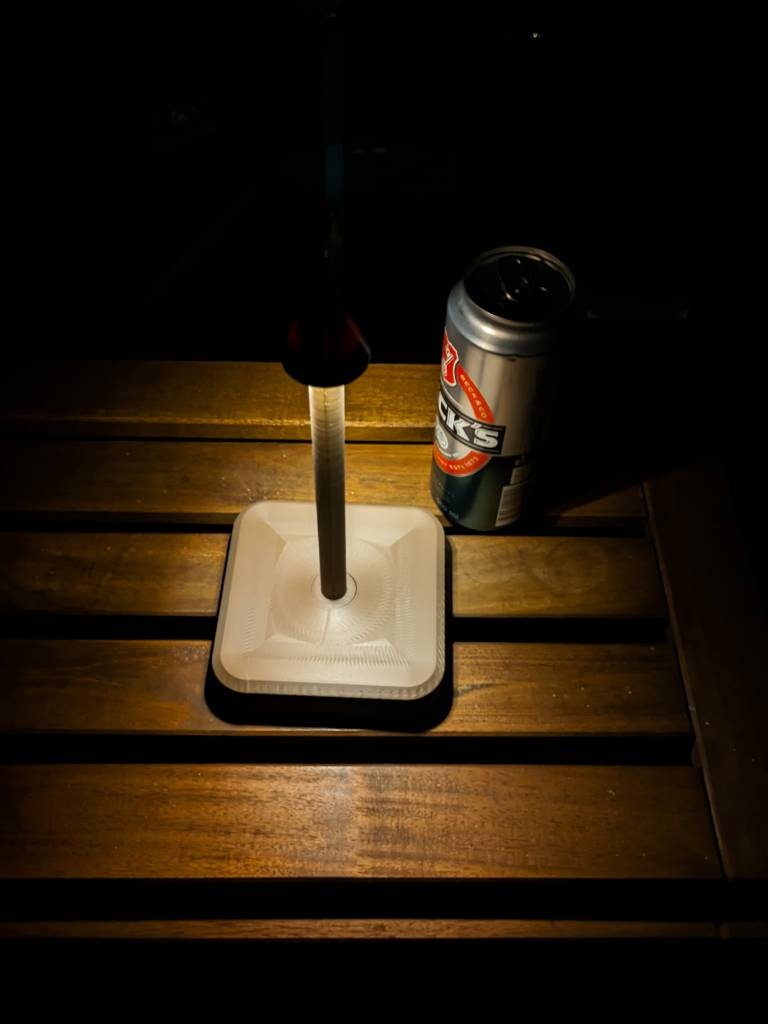
First time I printed something made in FreeCAD. It’s a table lamp for our balcony, more like a mood light than a real lamp hehe. Its made from 3 parts (base, tube and a hat). Base and tube are CA glued and I used some insulating tape to fit a hat tightly. The lamp is about 240 mm tall and its powered from 9V battery. Battery...


